How to use the voice isolator tool in Davinici Resolve.
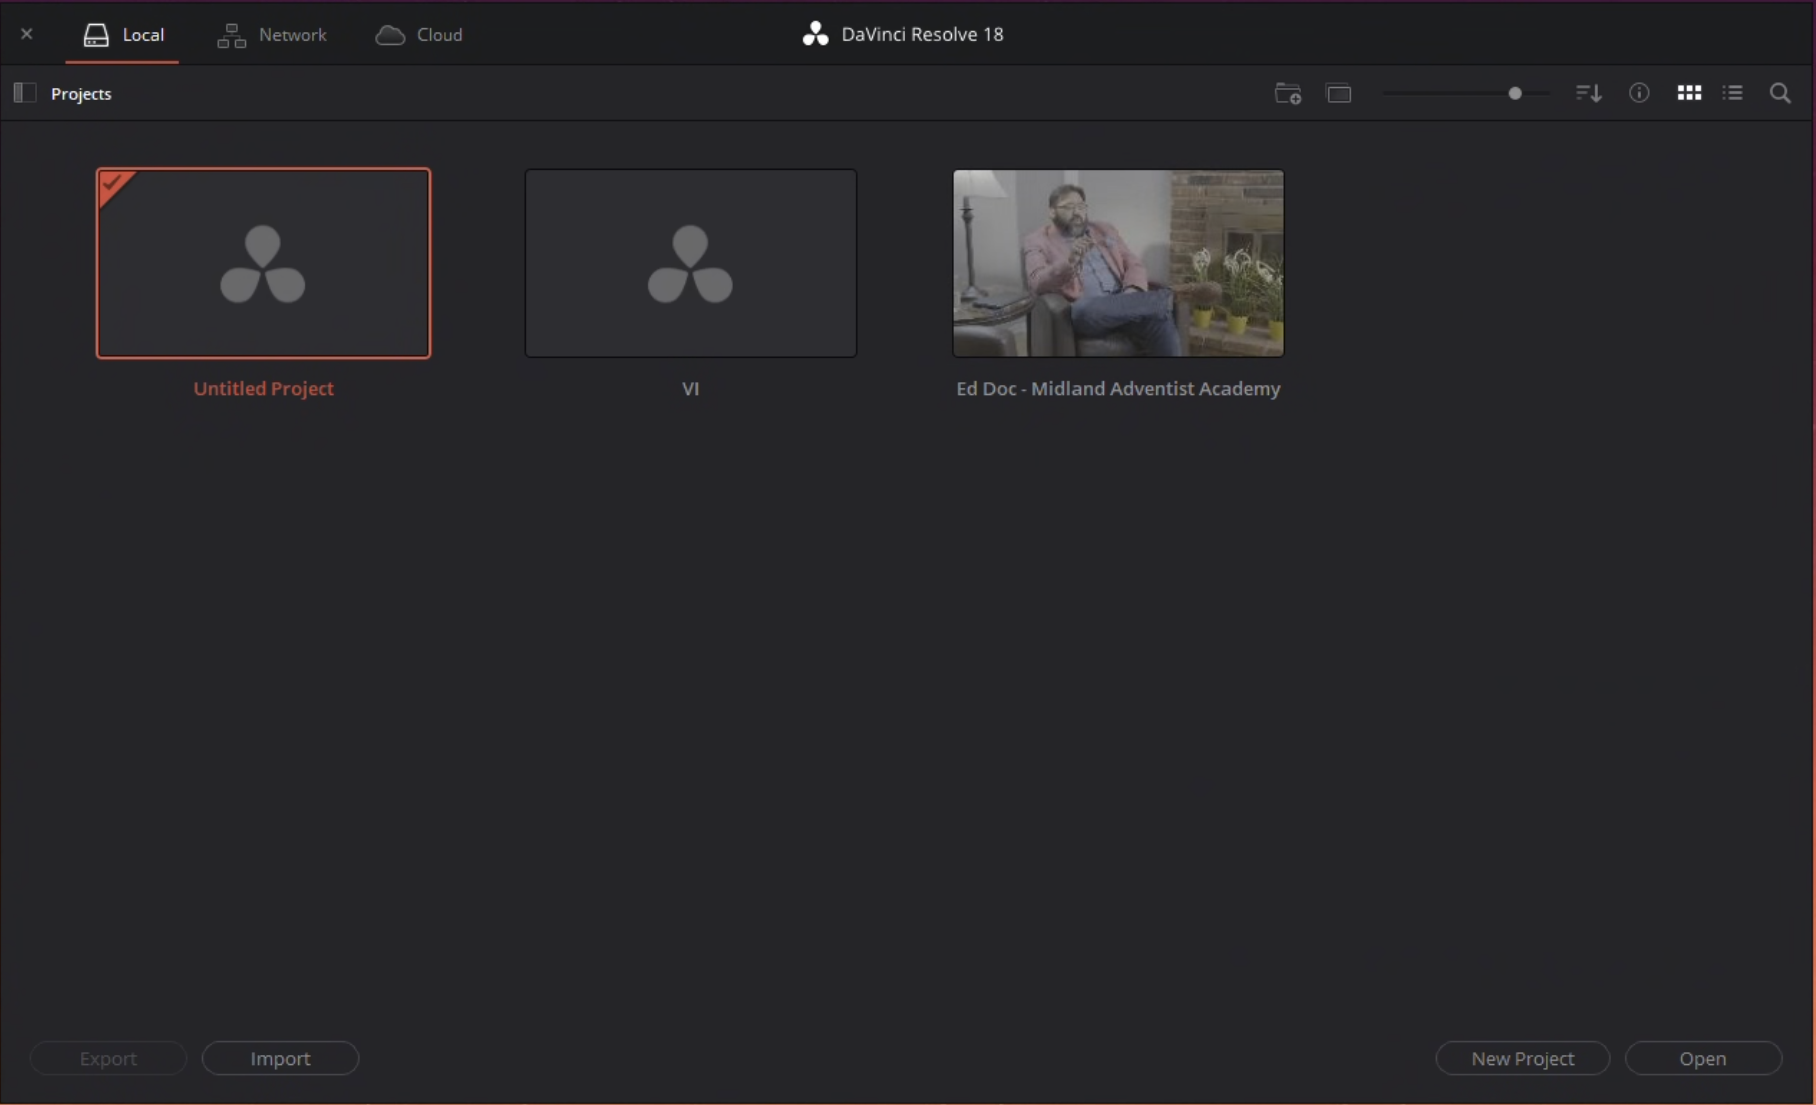
- Launch Davinci Resolve and create a new project by clicking the New Project Button and name it.
2. In any of the tabs (for this we will use Fairlight) open the Media Pool tab and drag your audio into it.
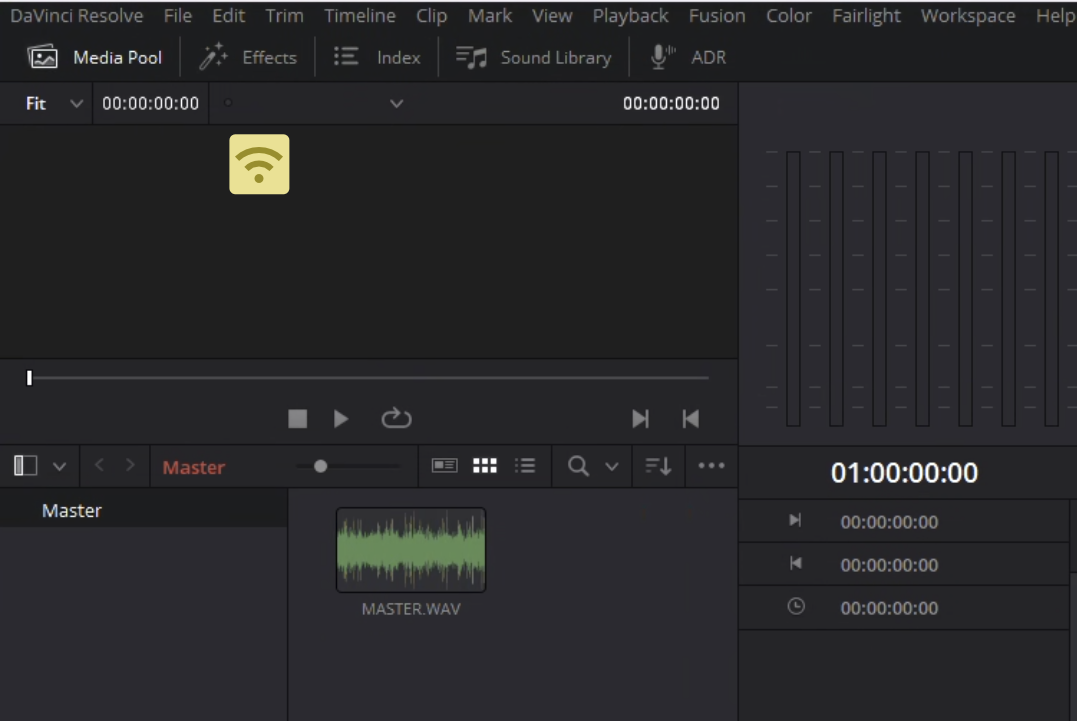
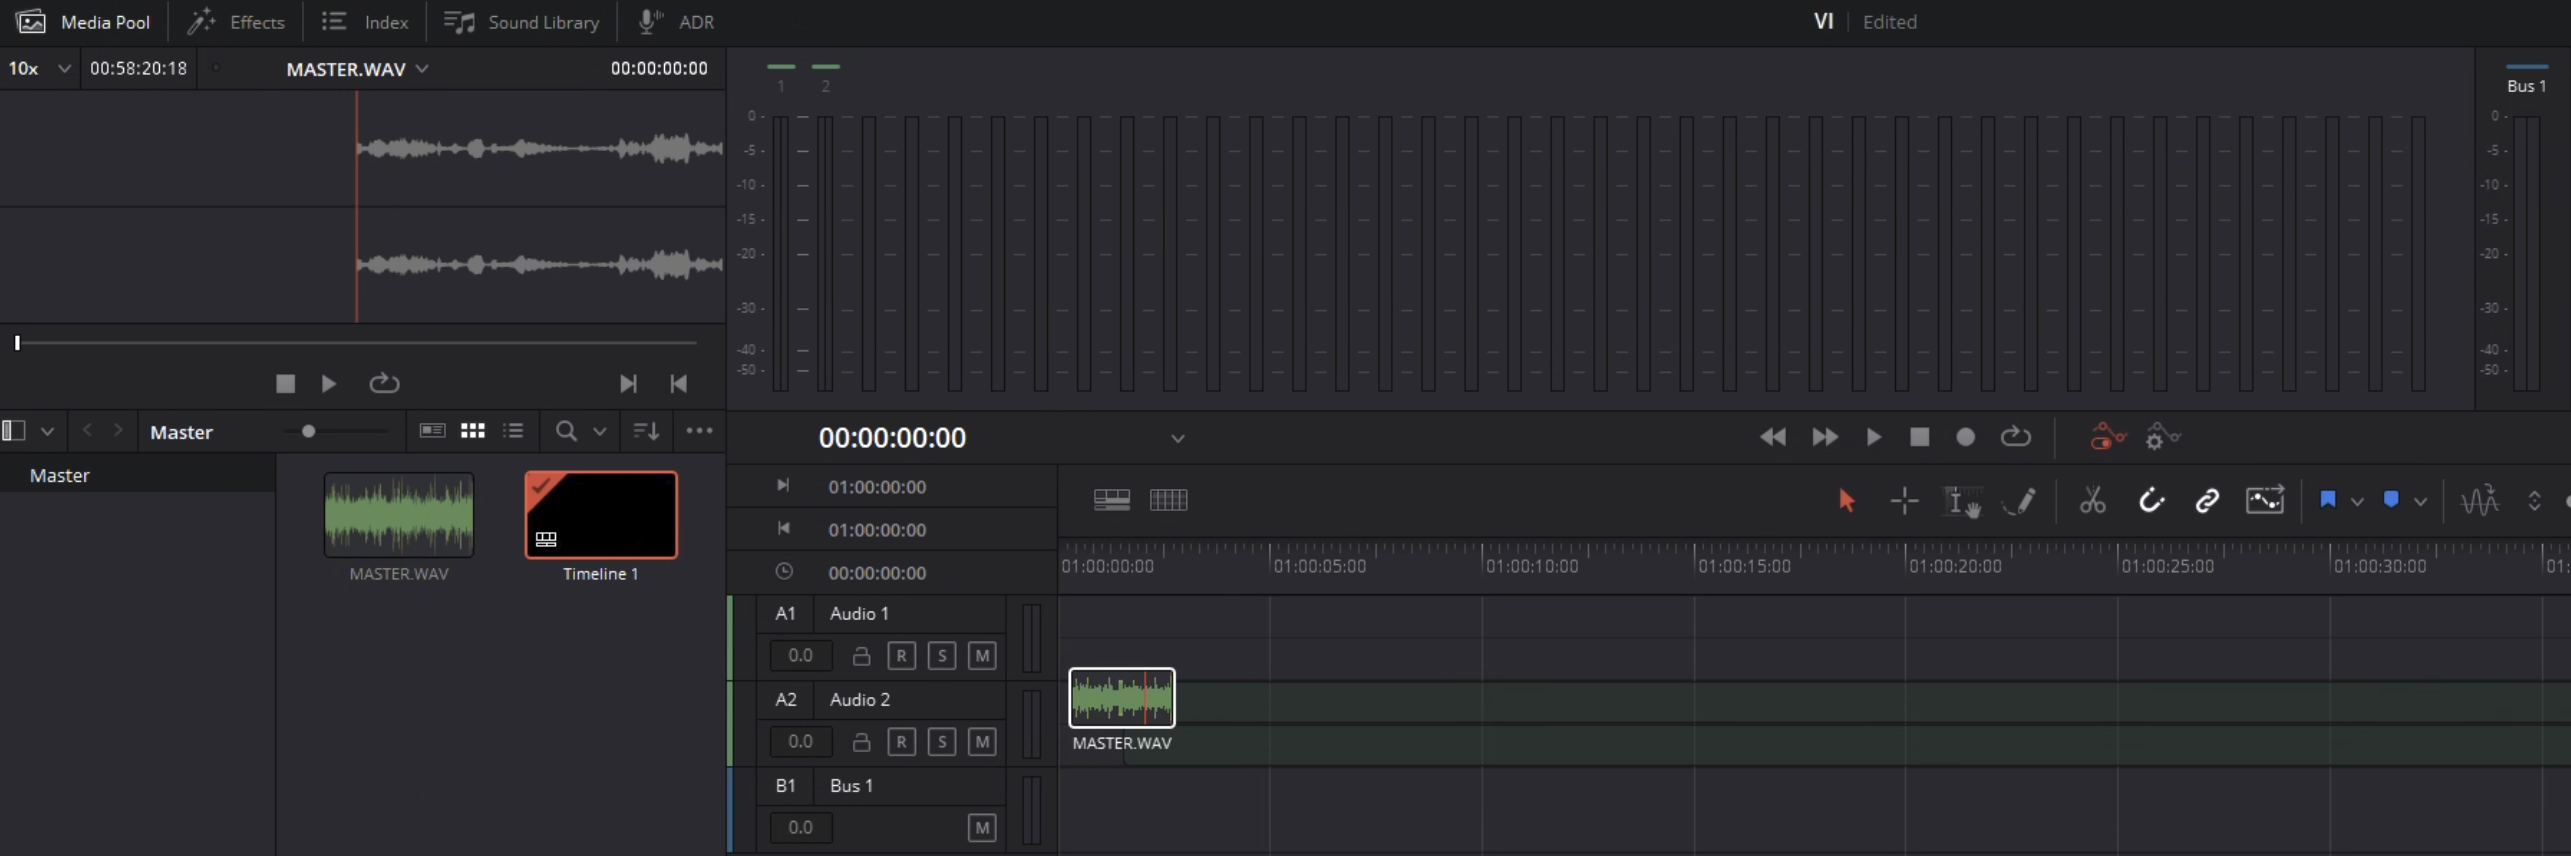
3. Once you have imported you audio either right click and go to Timelines->Create New Timeline or drag your media into the edit area to the right. Name your timeline.
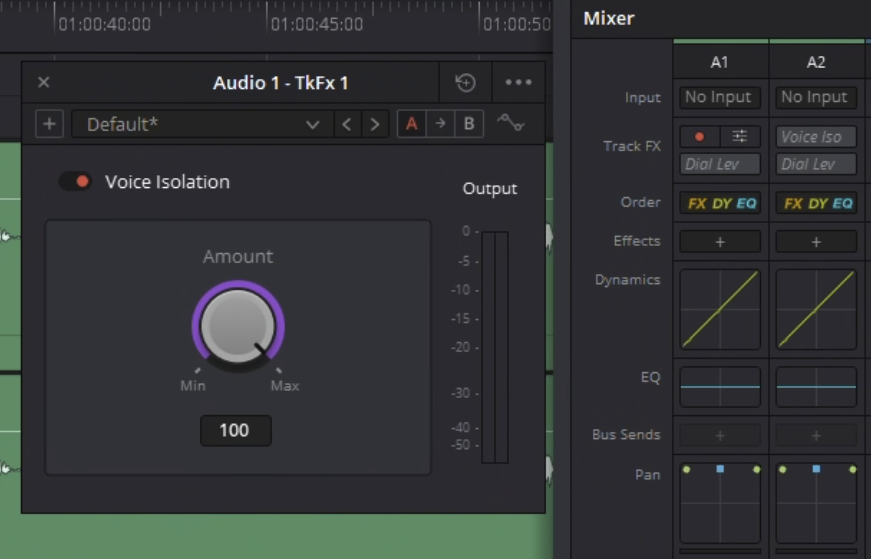
4. On the right hand side under the Mixer panel find your track and find Track FX and enable Voice Iso.
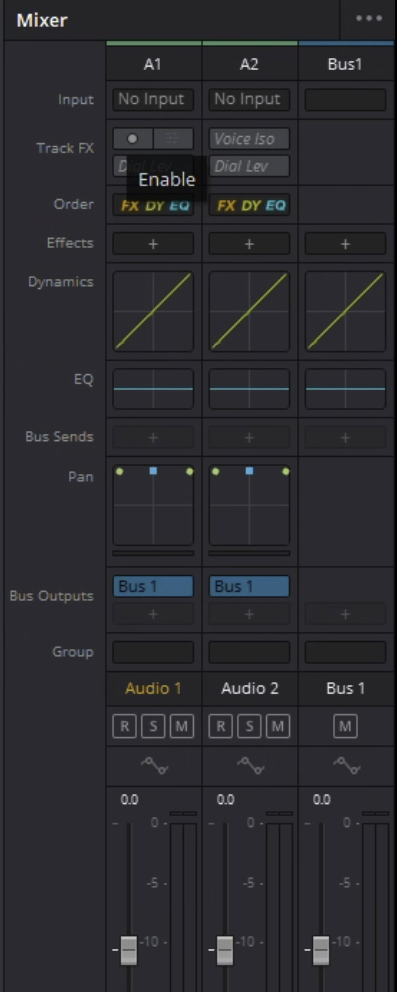
5. Next to the enable button is a settings button if you need to change the amount of isolation. (The default is 100%)
6. Once done, you can go to the Deliver Tab. Choose the Audio Only preset. Then Pick your name and location for the render. Settings should be as listed.
Format: Wave, Codec: Linear PCM, Sample Rate: 4800, Bit Depth: 24

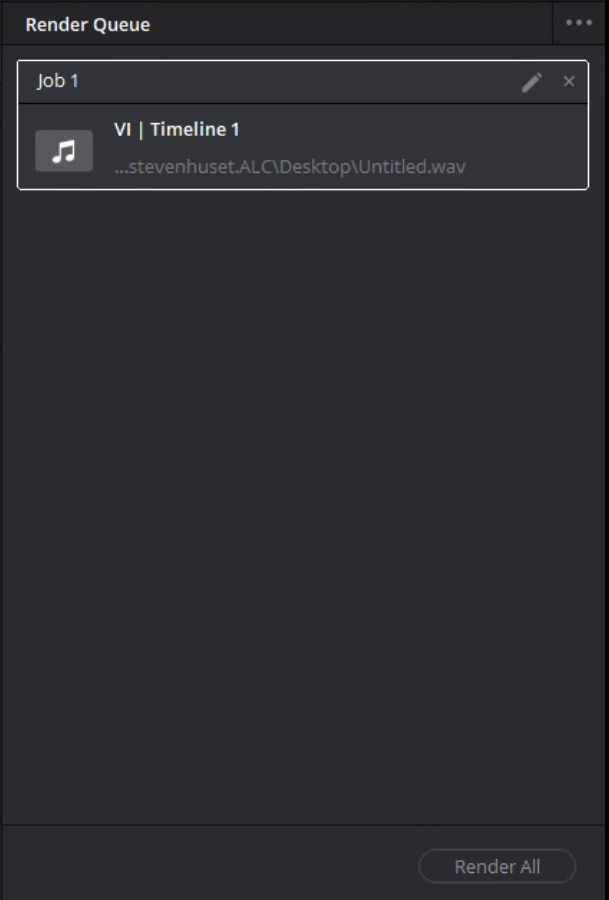
7. Once ready click Add to Render Queue at the bottom of the Render Settings tab. Then on the right hand side click Render All.