Below are a few editing tips to help make placing slides into a presentation go a bit smoother.
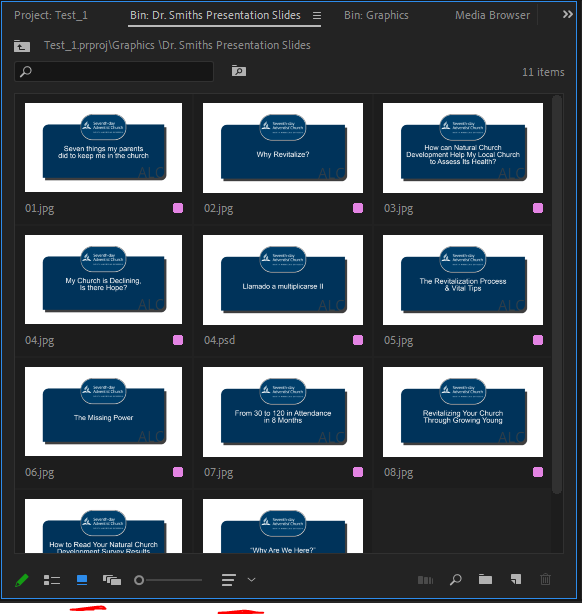
First step as always is to make sure you graphics are well organized. There should be a Graphics bin with a bin for each presentation clearly labeled holding each of the presenters slides as picture in the example below.

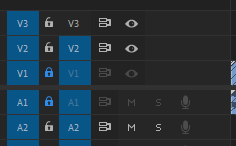
Next step is to make sure your video and audio tracks are locked and that V2 (or whatever is your top most blank track) is selected.
Next lets make sure our slides are in the proper order. Double click on the Presentation folder and then select Icon View. Click the sort icon and select Name as the sort method.
Once that is done grab all your slides and drag them to the timeline to the right of the end of the video track.

Here is where it gets crazy. Once you find your in point for where the first slide should start click Shift + W to extend your next edit in point to your playhead.

You can keep using this shortcut to snap the in point of the next slide as the presenter cycles though their slideshow.

When you need to cut back to the presenter you will need to set an outpoint on the slide. Use the short cut Control + Alt + W to trim next edit to play head.

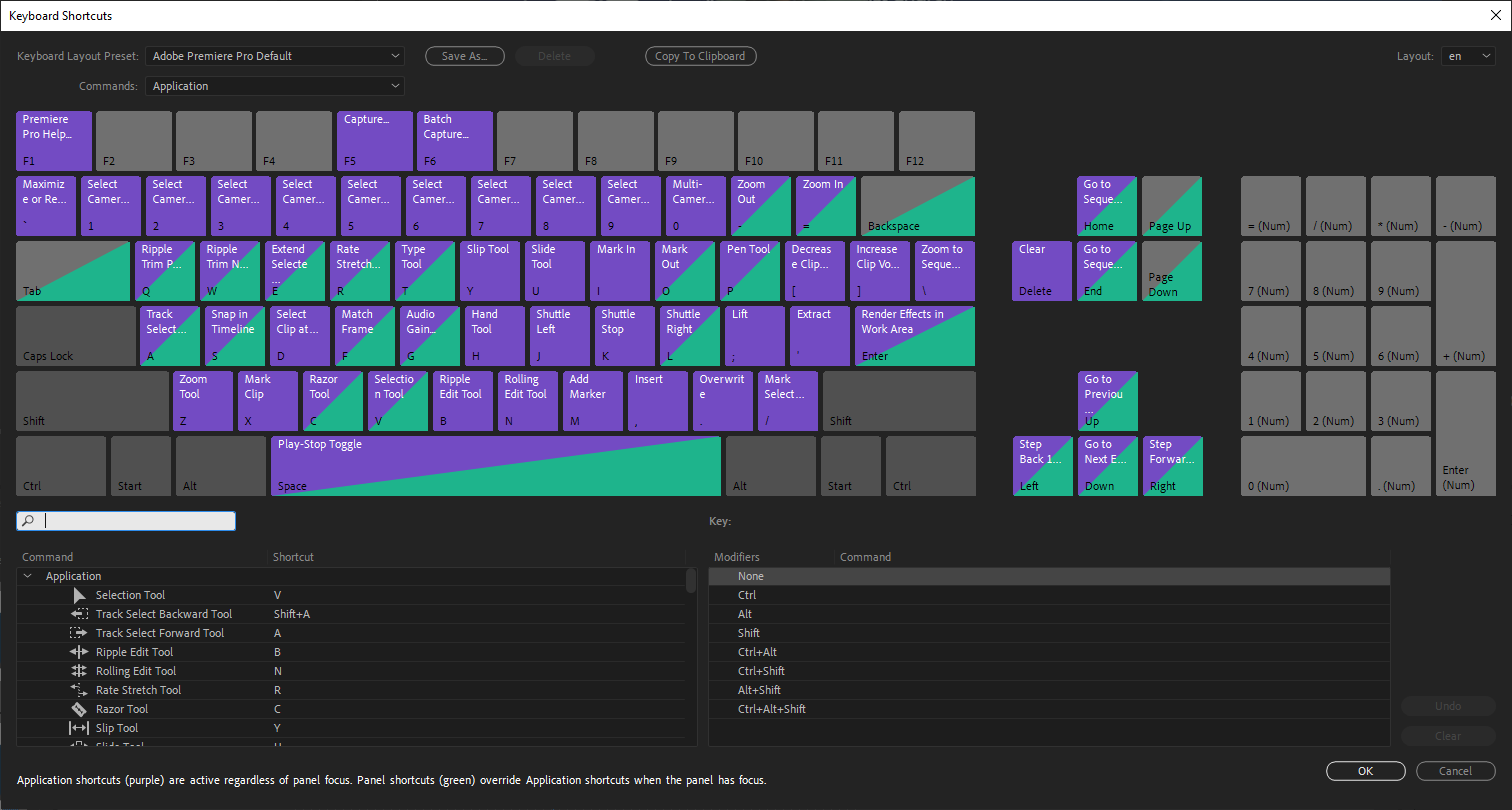
If you don’t like these short cuts you can always remap them by going to Edit>Keyboard Shortcuts (Control + Alt + K) and changing them to whatever button you prefer on your keyboard. Happy Editing!