The Lid

The lid has a space cut out for the Clipboard with velcro to hold it in place.

You may have to shove some foam out of the way at the top. The clipboard should rest against the bottom and right sides of the lid.
The Lower Level

The lower level has three bays for equipment. Bay 1 is for Tripods, power strips and extension cords, headphones, shotgun mics, power cables, and any other peripherals that are safe to pack loose. Bays 2 and 3 should each hold 1 camera, camera power, and 1 SDI cable.
Packing

Load these items in first, making sure that the tripods have their heads facing opposite directions from eachother, and that they are as low in the Bay as possible. I prefer to shift them to the left, since the right has slightly less space due to the wheels of the case.

Next pack in the Shotgun Mic, power splitters and headset along the back behind the tripod. You can also put in a power strip, and use the empty space on the right to hold plugs/cable ends.

Next pack in the extension cables and switcher power adapter in Bay 1, making sure nothing is on top of the walls of the Bays. Then place the Camera power adapters in Bays 1 and 2. I like to stuff the large portion of the adapter in the upper left corner so it is somewhat wedged in place.

Next pack the SDI cables in Bays 1 and 2. You will need to coil them tightly enough that the coil can fit entirely in the Bays. Once again, make sure nothing sits or can shift to be on top of the walls of the Bays.

Next put the Tray in place. You can use the large finger holes to manipulate the tray in to position. Keep in mind that the case has a small protrusion at the bottom of this image, and that the tray will need to sit below it. Also, make sure no items from the Bays are between the Walls and the Tray.

If everything is loaded correctly so far, you should see your Tray sitting below those measure lines built in to the case. It is ok if you need to push the Tray down a bit to get it below the lines. If anything is between the Tray and the walls of the Bays, it will not sit right and the case will not close.

Load the Switcher in it’s spot on the left, and the soft cases as shown on the right. The taller case should go towards the front. If the Mic case is not packed correctly, it will be too tall, and the case will not close. Try and make sure all items in the Mic case are evenly distributed so there is not a high spot in the middle of the case.
Mic Case
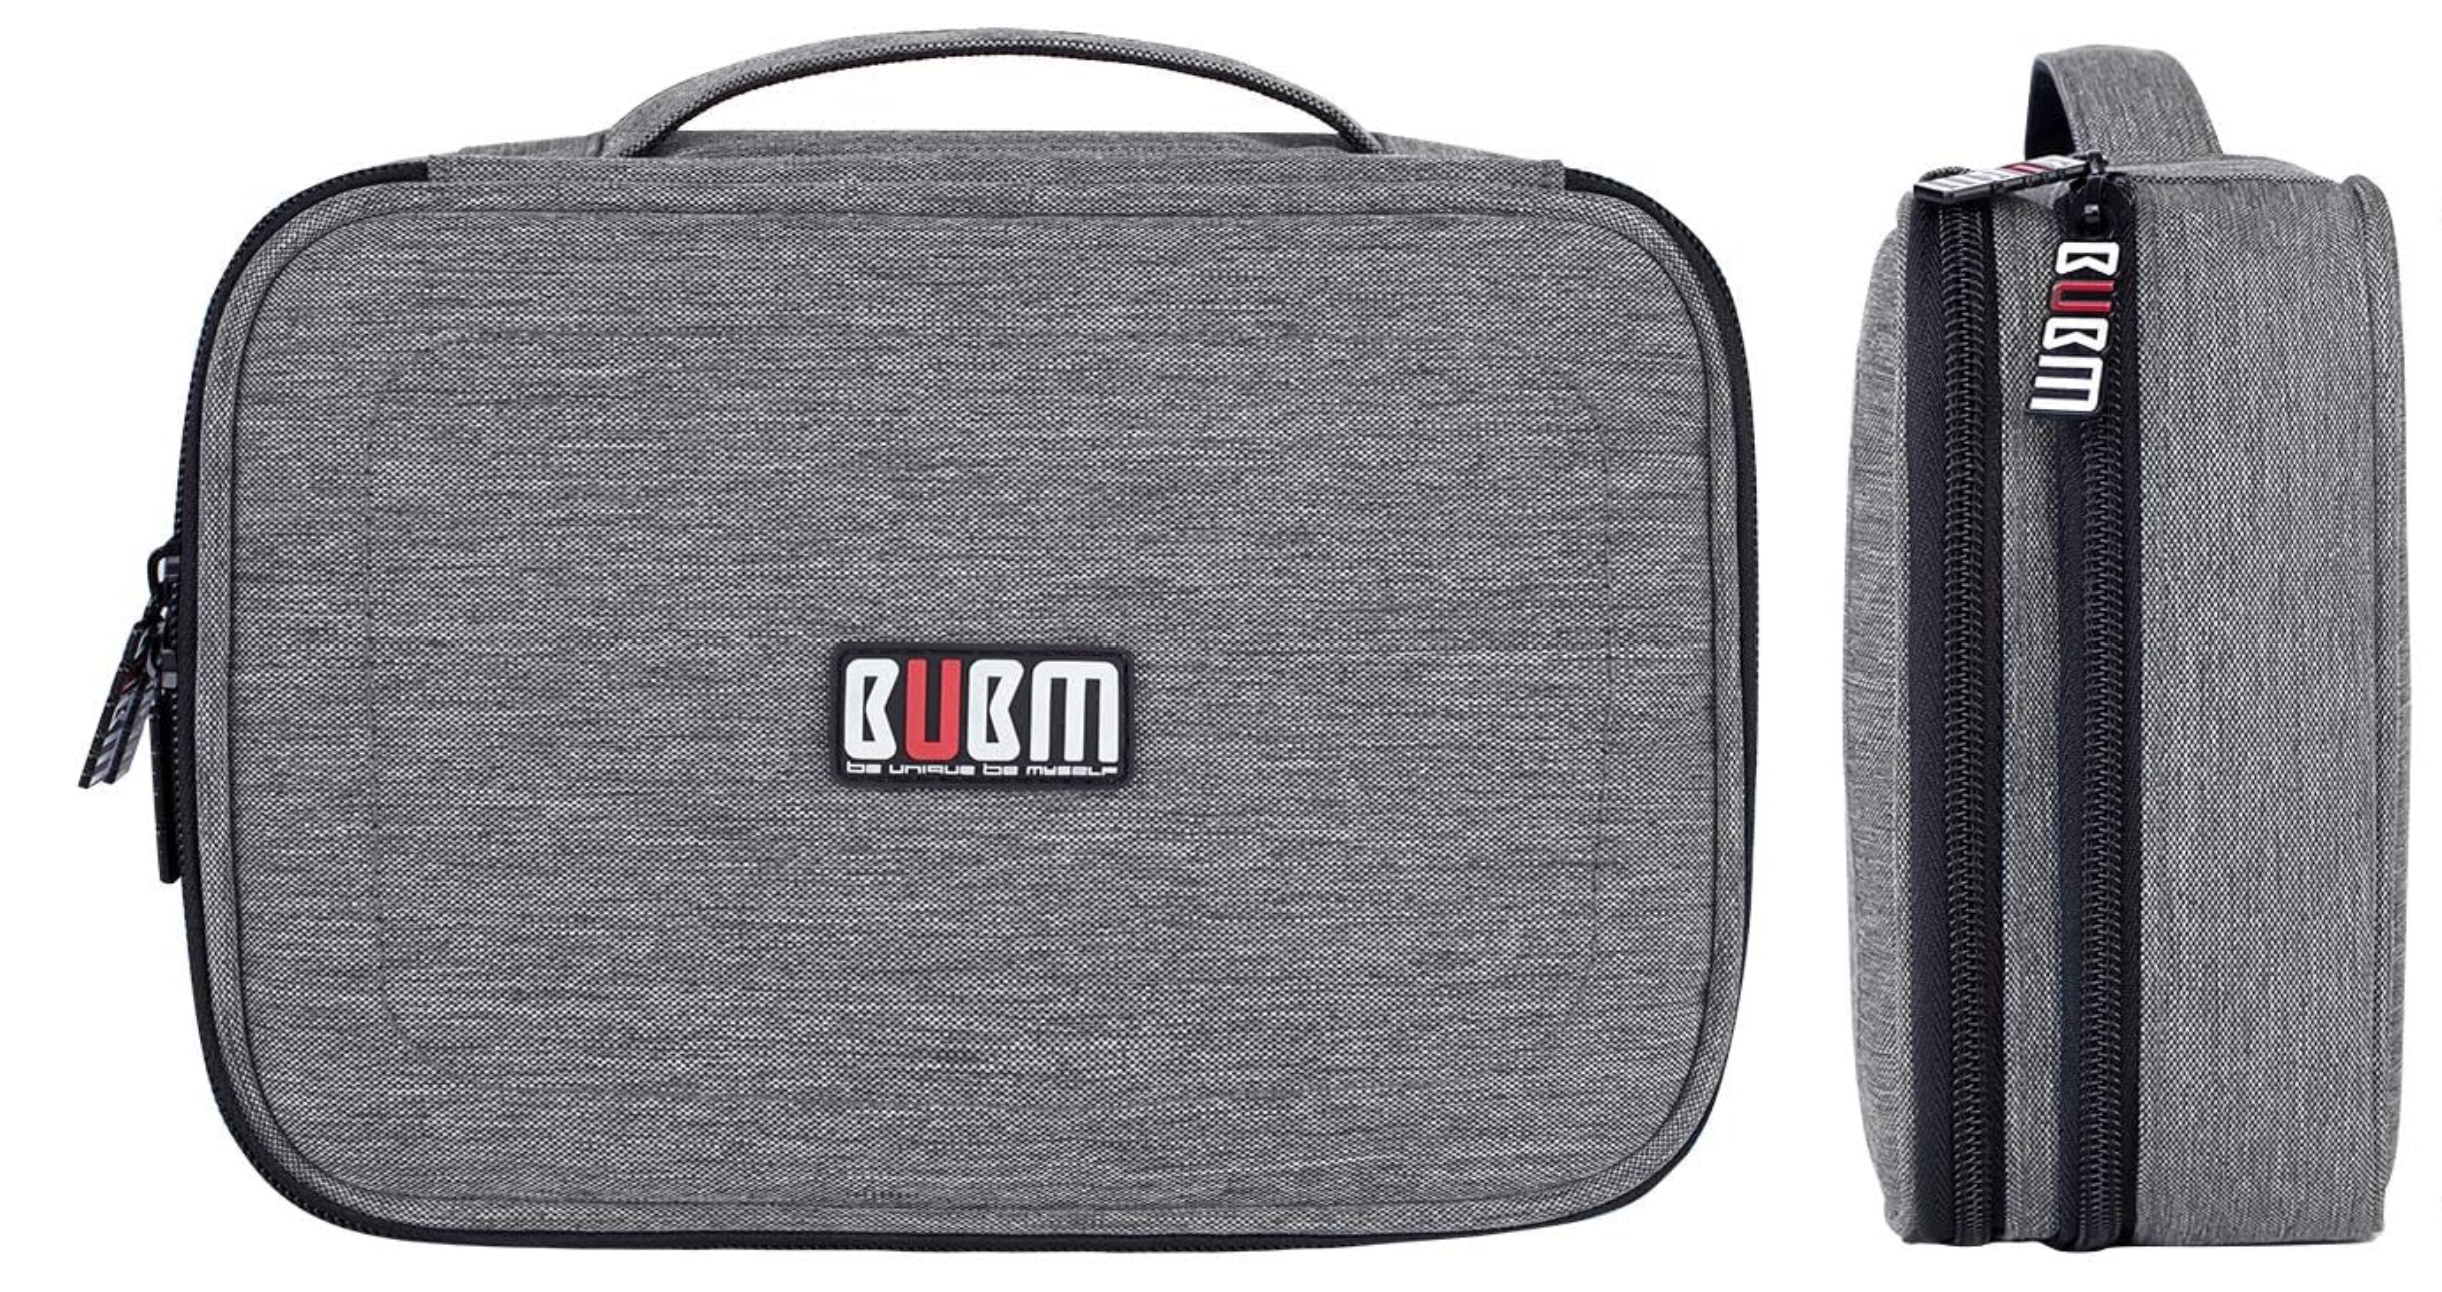
The dark grey BUBM cases have Lav mics and more stored in them. (Some items may very depending on if there are rentals, but below is the basic layout using ALC standard Deity Mics)
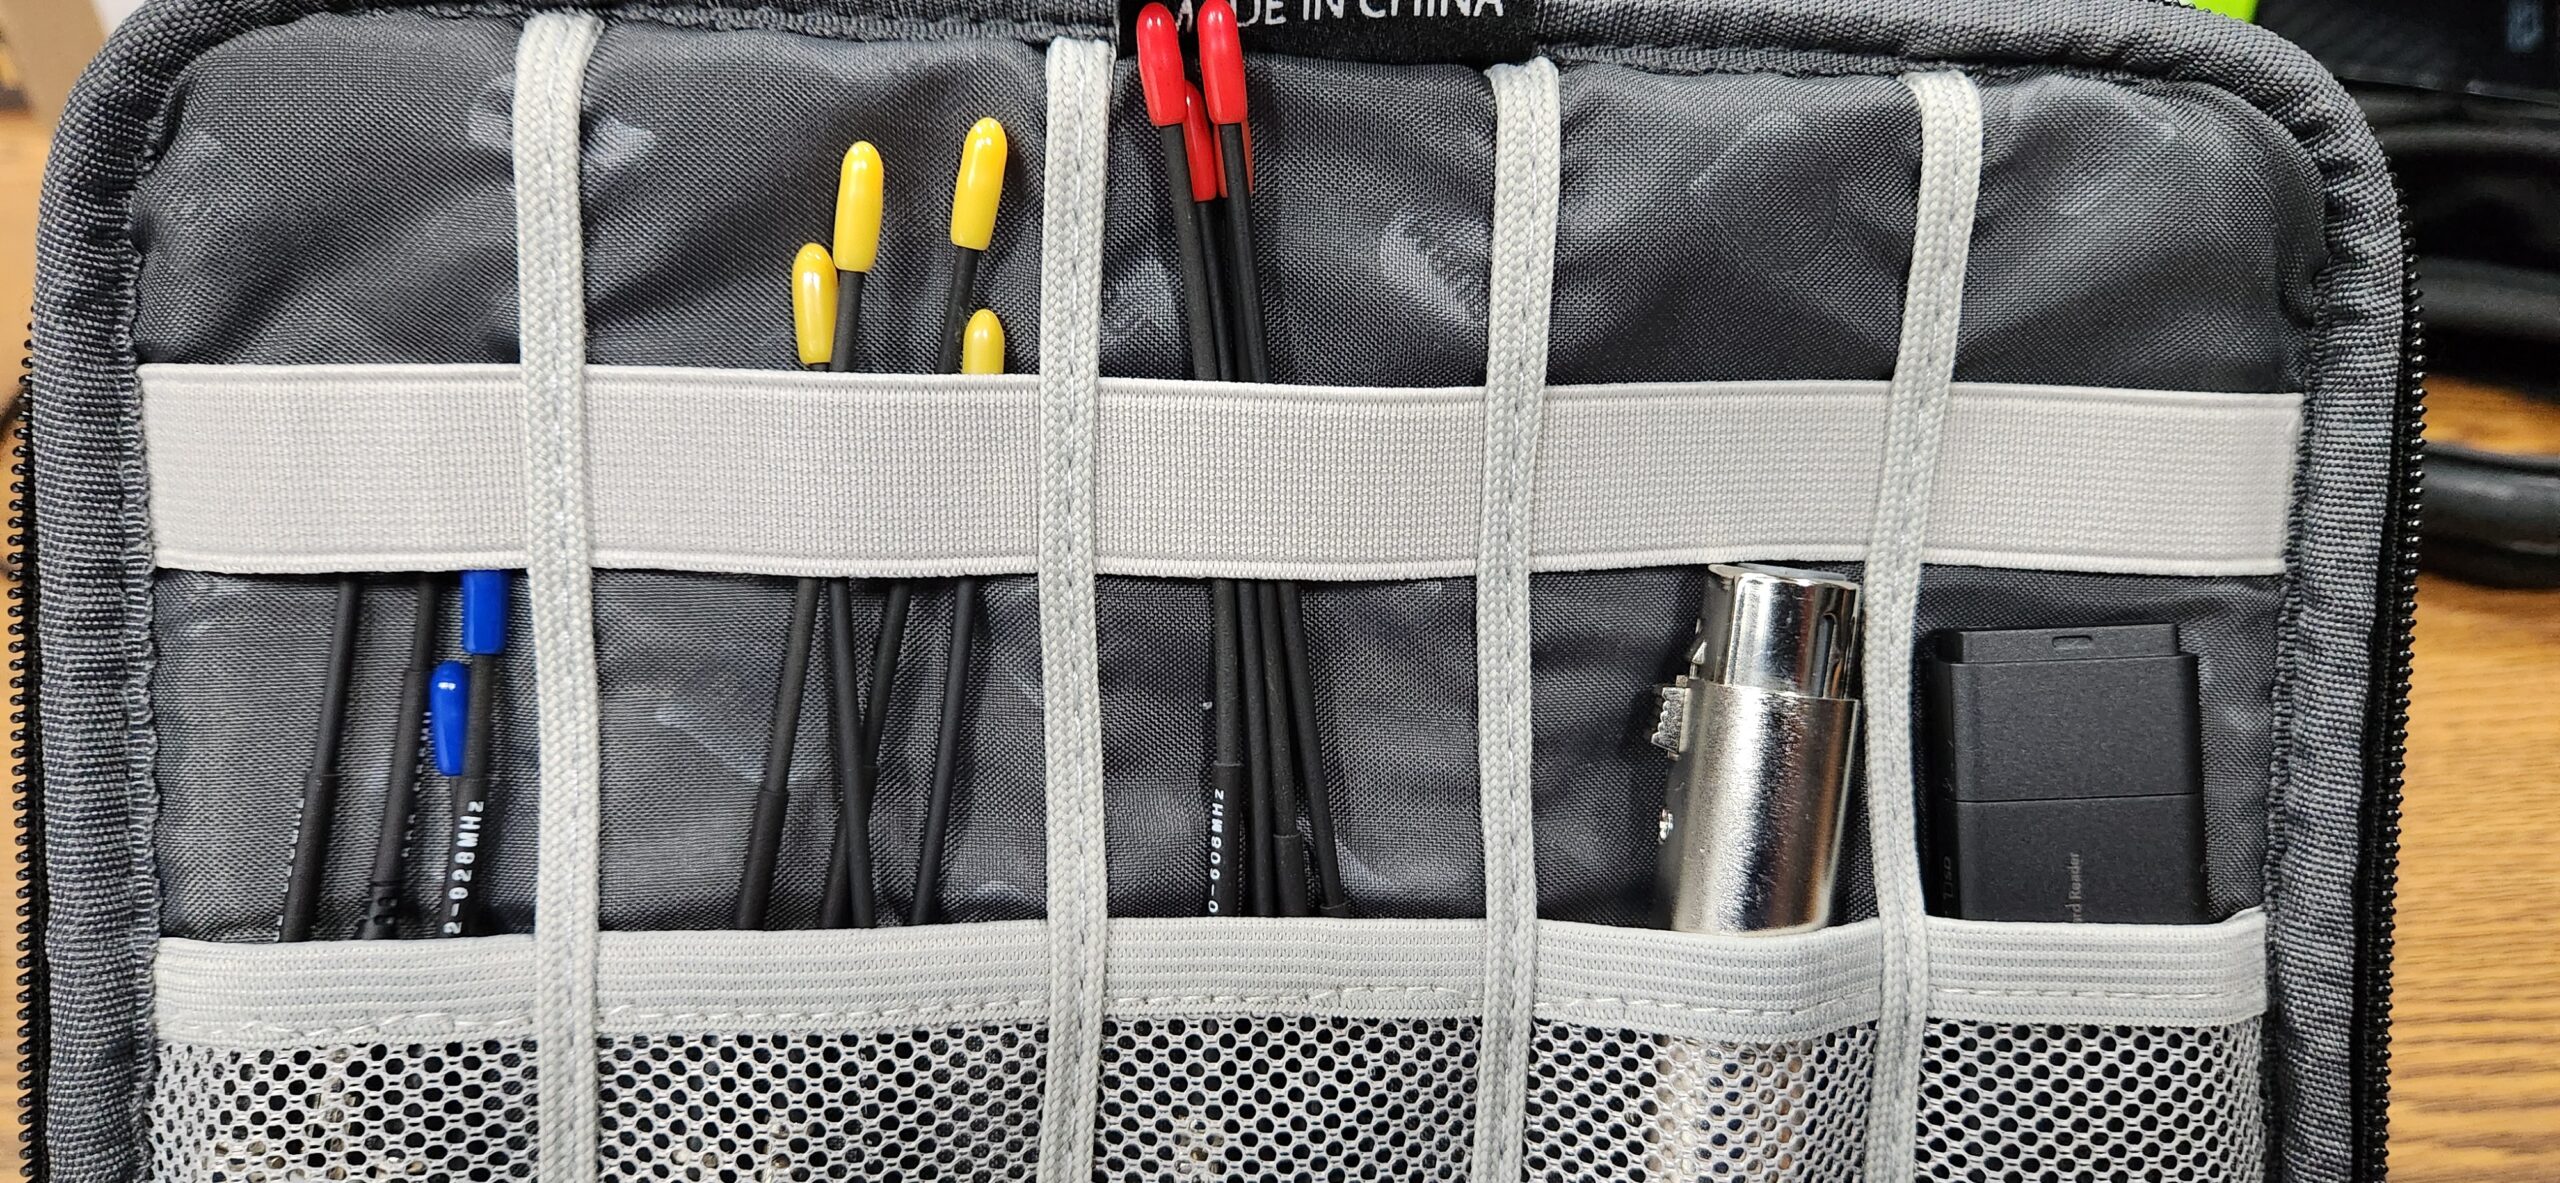
The top lid of the case has three sets of antennas for different frequency ranges of the mics, a ground lifter, for hums in the audio coming off a sound board, and a SD card reader.
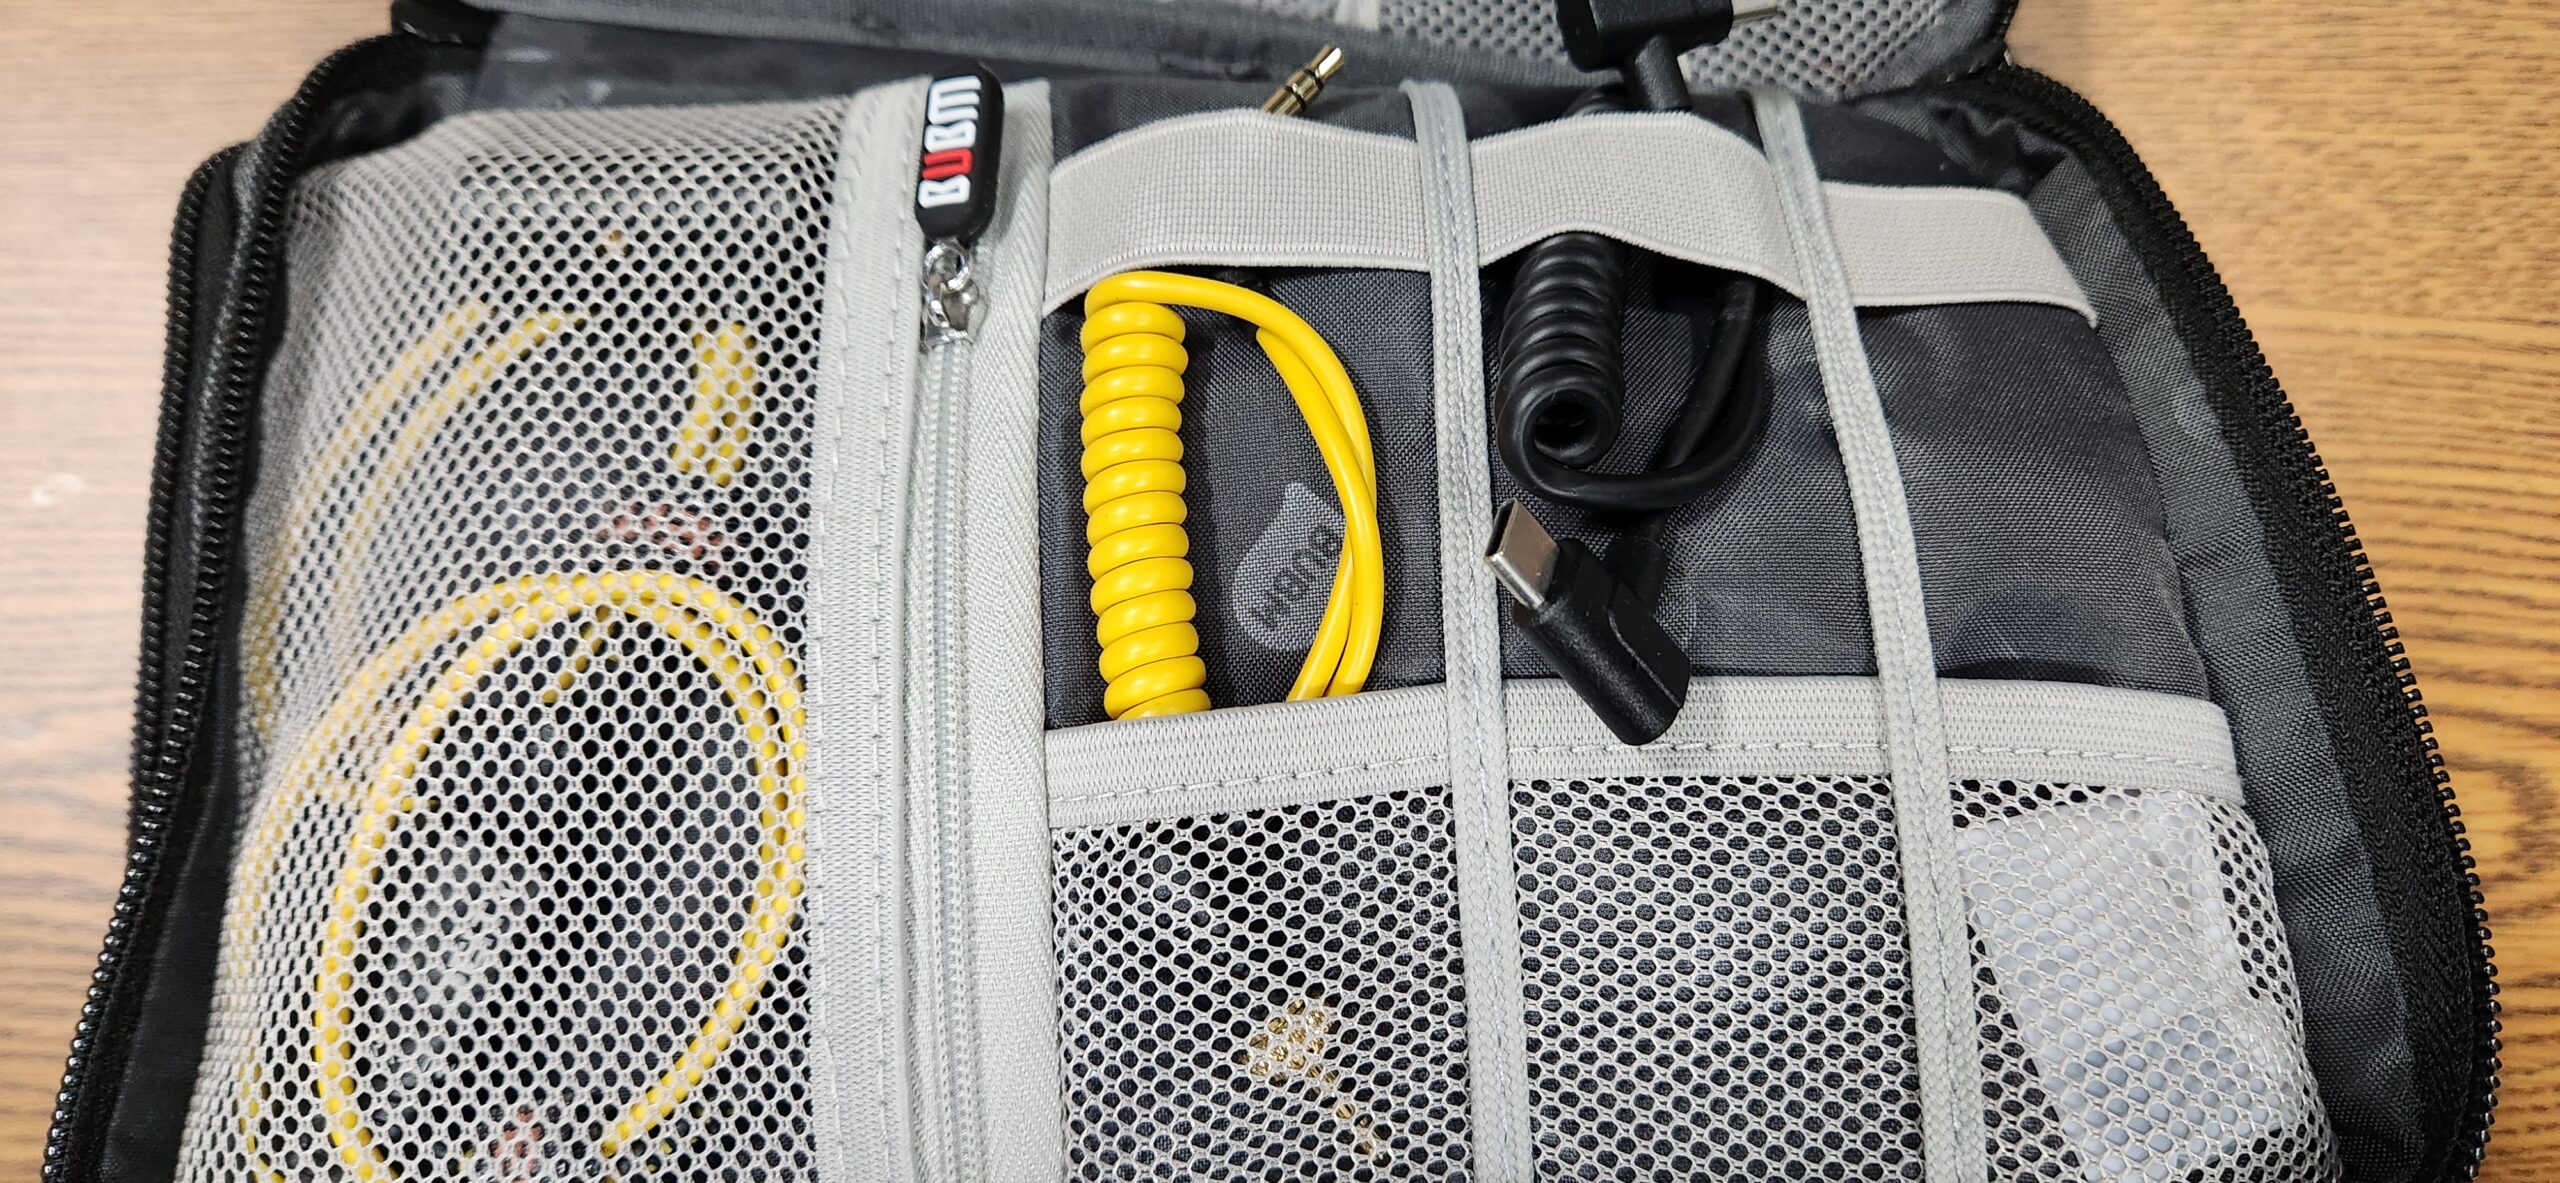
The lower section has a slot for XLR to 1/8th inch adapters, a AUX cable adapter, USB C to USB C adapter and a USB C to A adapter.
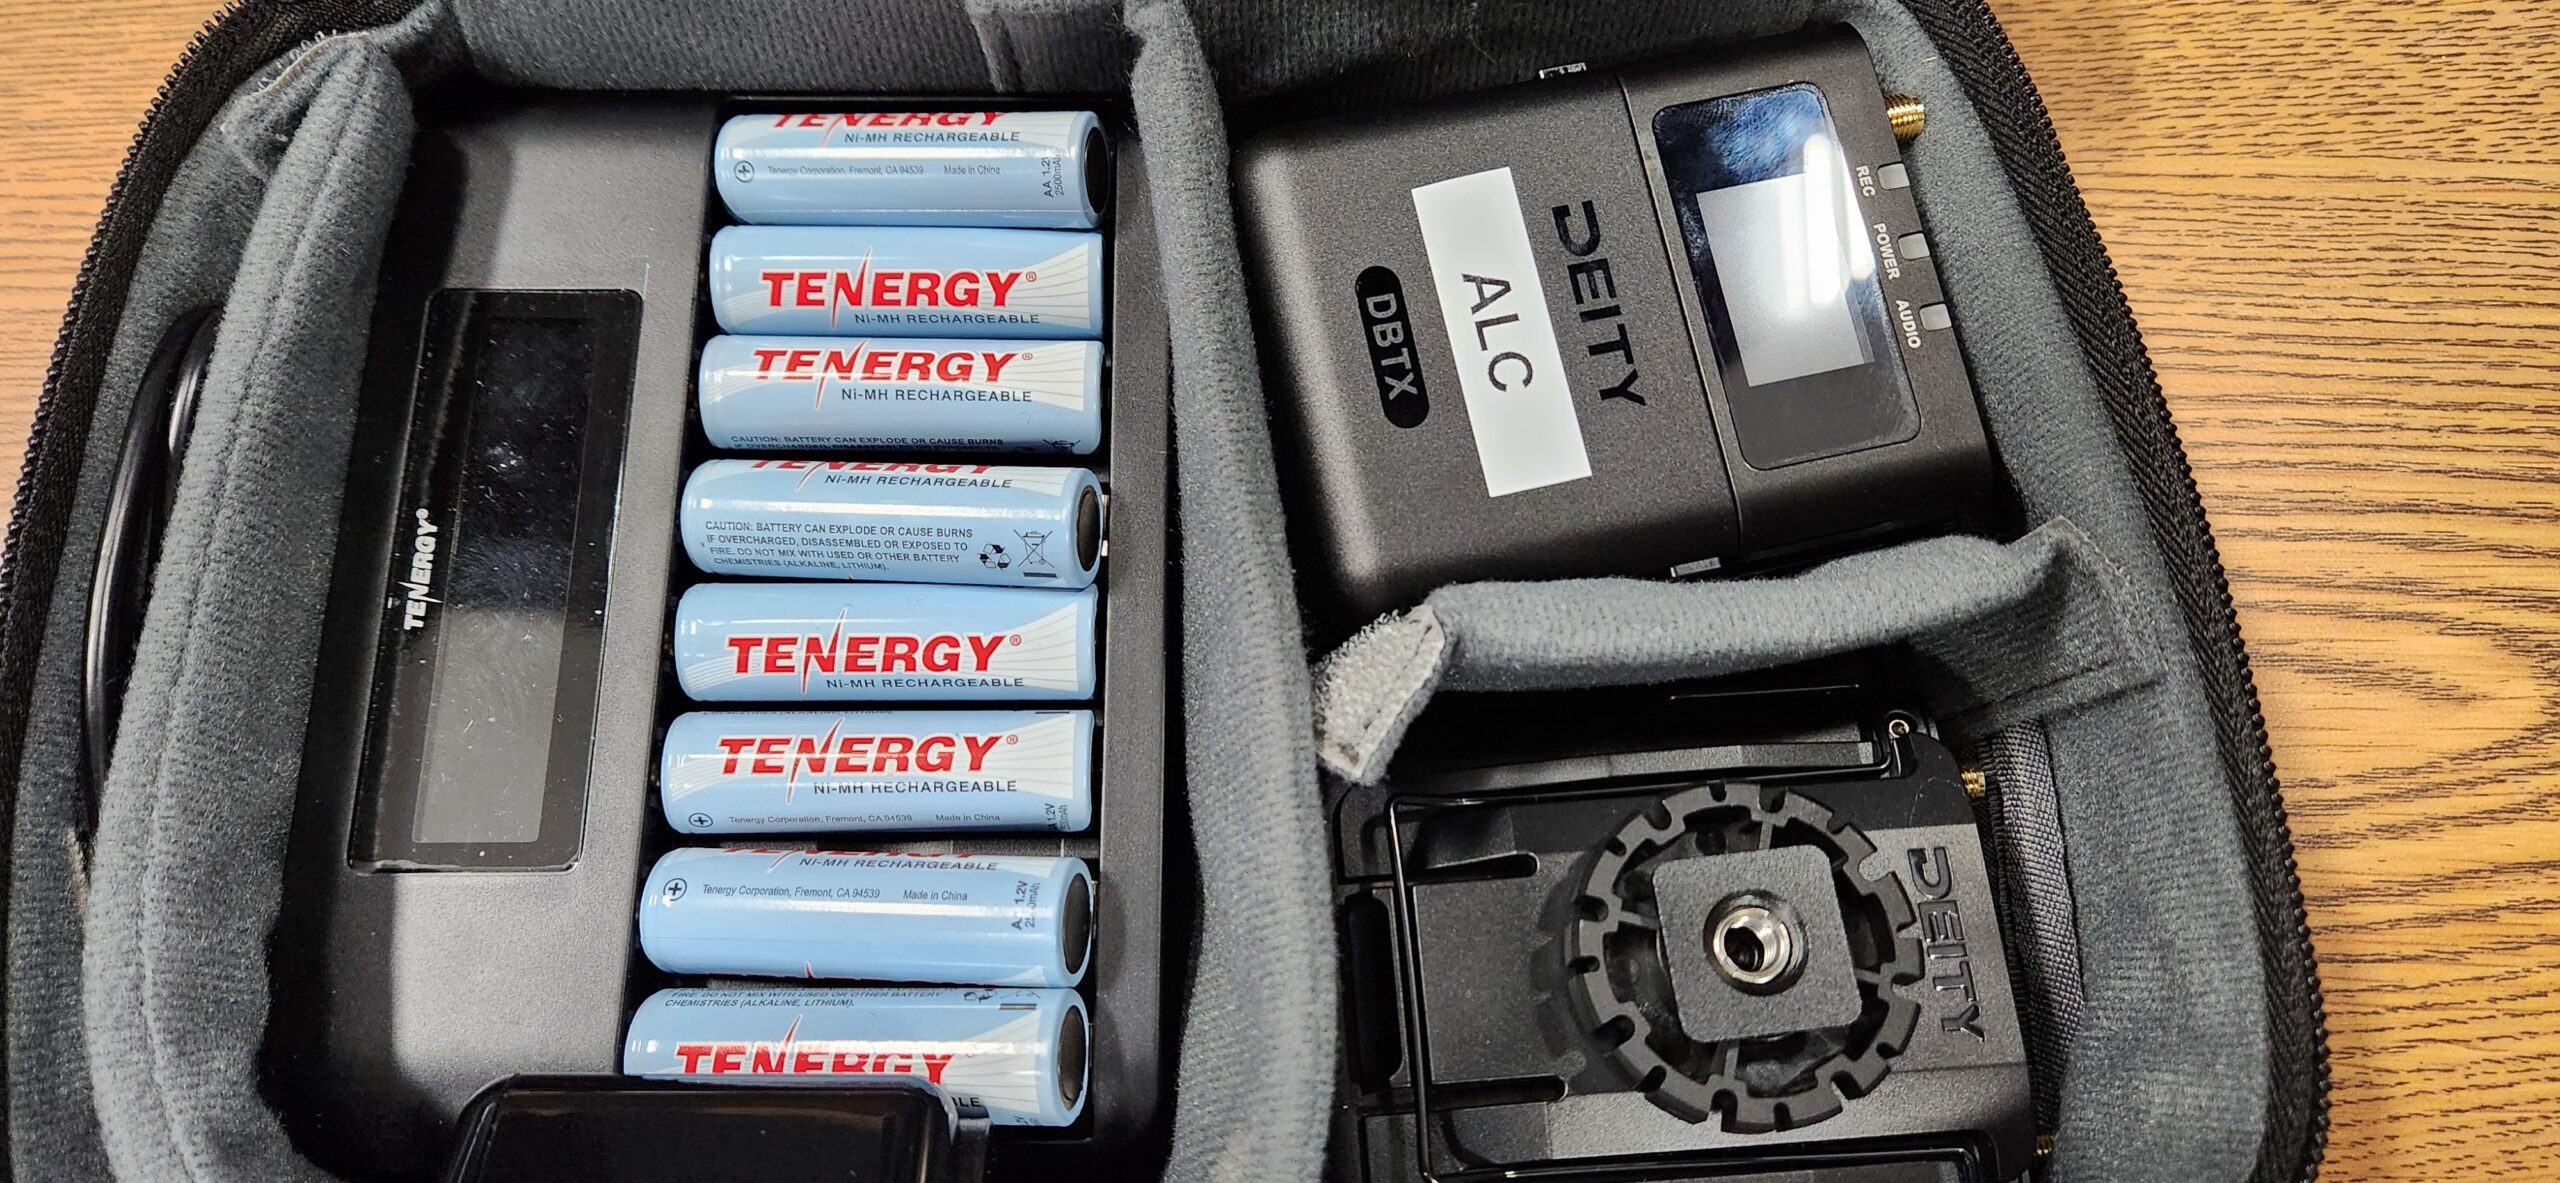
The lower level has a AA batteries, charger with USB charging cable and wall plug, and two mic transmitters and one duel receiver.

The top flap of the lower level has two lav mics.

Inside the velcro flap there is an SSD hard drive with USB cables and 3 to 4 SD cards in a mini case.
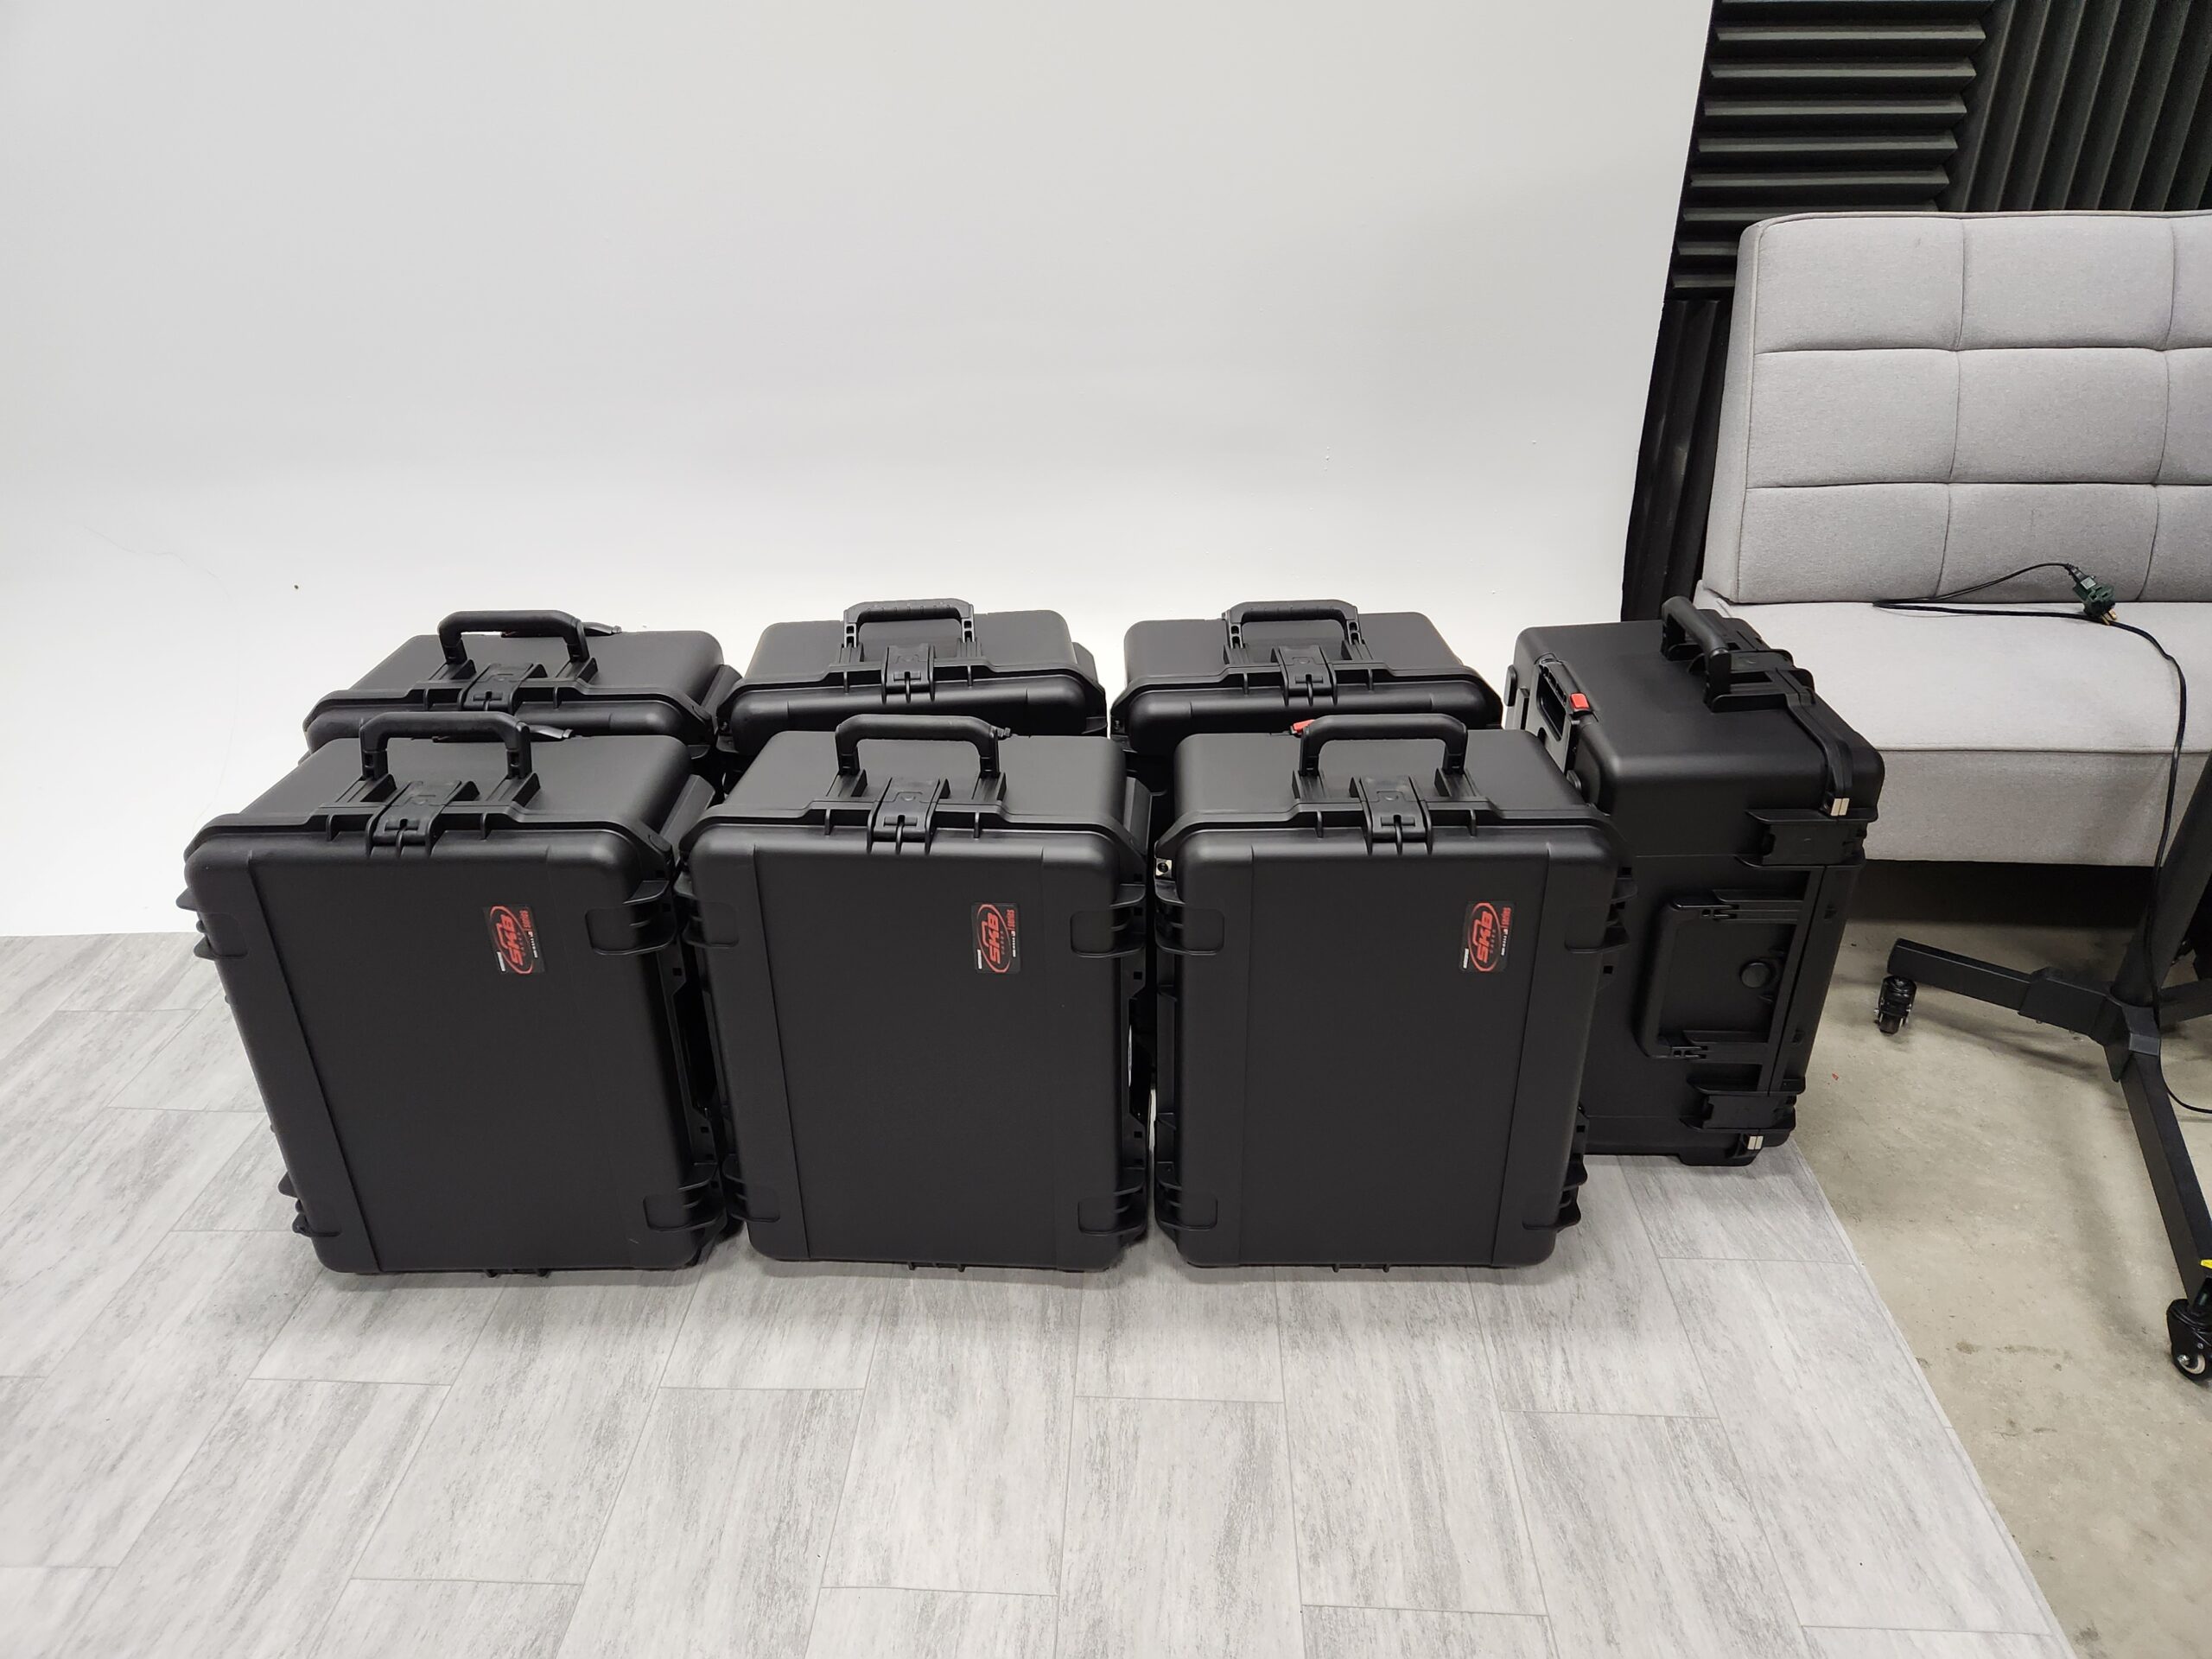
The Wireless Video Case
The light grey Bubm case has a wireless video transmitter, with loop out, a wireless video receiver, and two HDMI cables. It also houses the SSD edit drive and USB cable. To use 1. Unplug HDMI coming into the room projector, 2. Plug into HDMI in on the transmitter. 3. Plug our HDMI cable into the loop out and into the projector to pass signal though. 4. Plug your other HDMI cable into the receiver and connect it to the switcher.
Back Up Recording on the Deity Lav mics
In case you are not able to get pairing on the Deity mics, or there is some kind of interference, as a last ditch effort you have the ability to record internal (32bit float) audio.
First make sure the device is on and use the Menu button (the one with the check mark above) to open the menu.
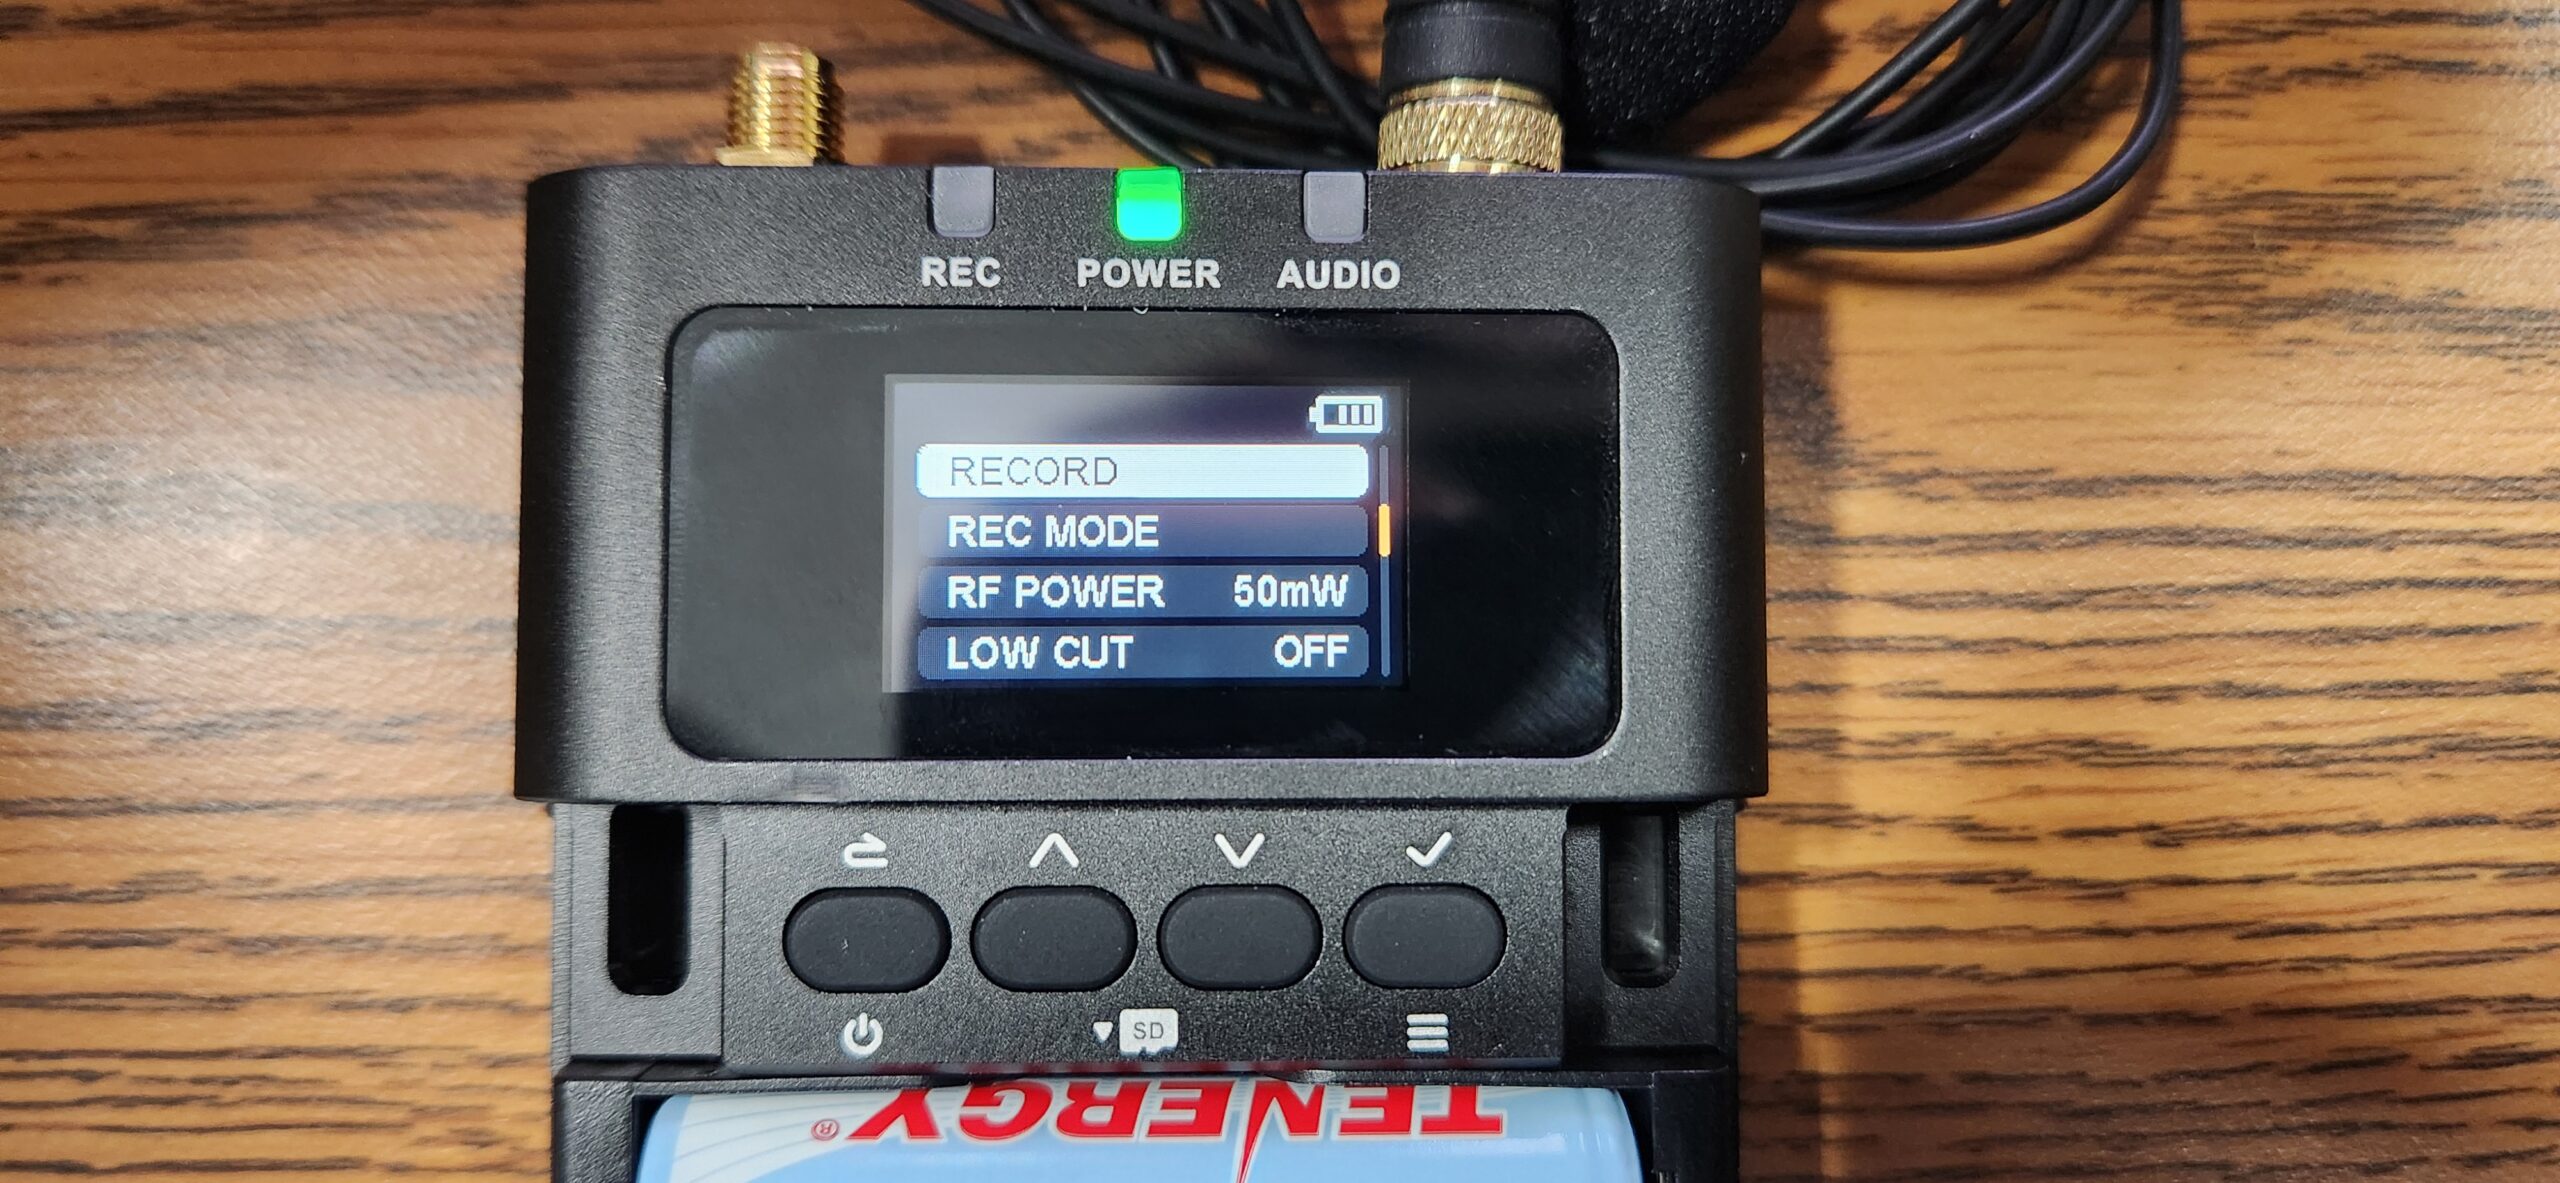
Scroll down to where it says Record and Rec Mode.
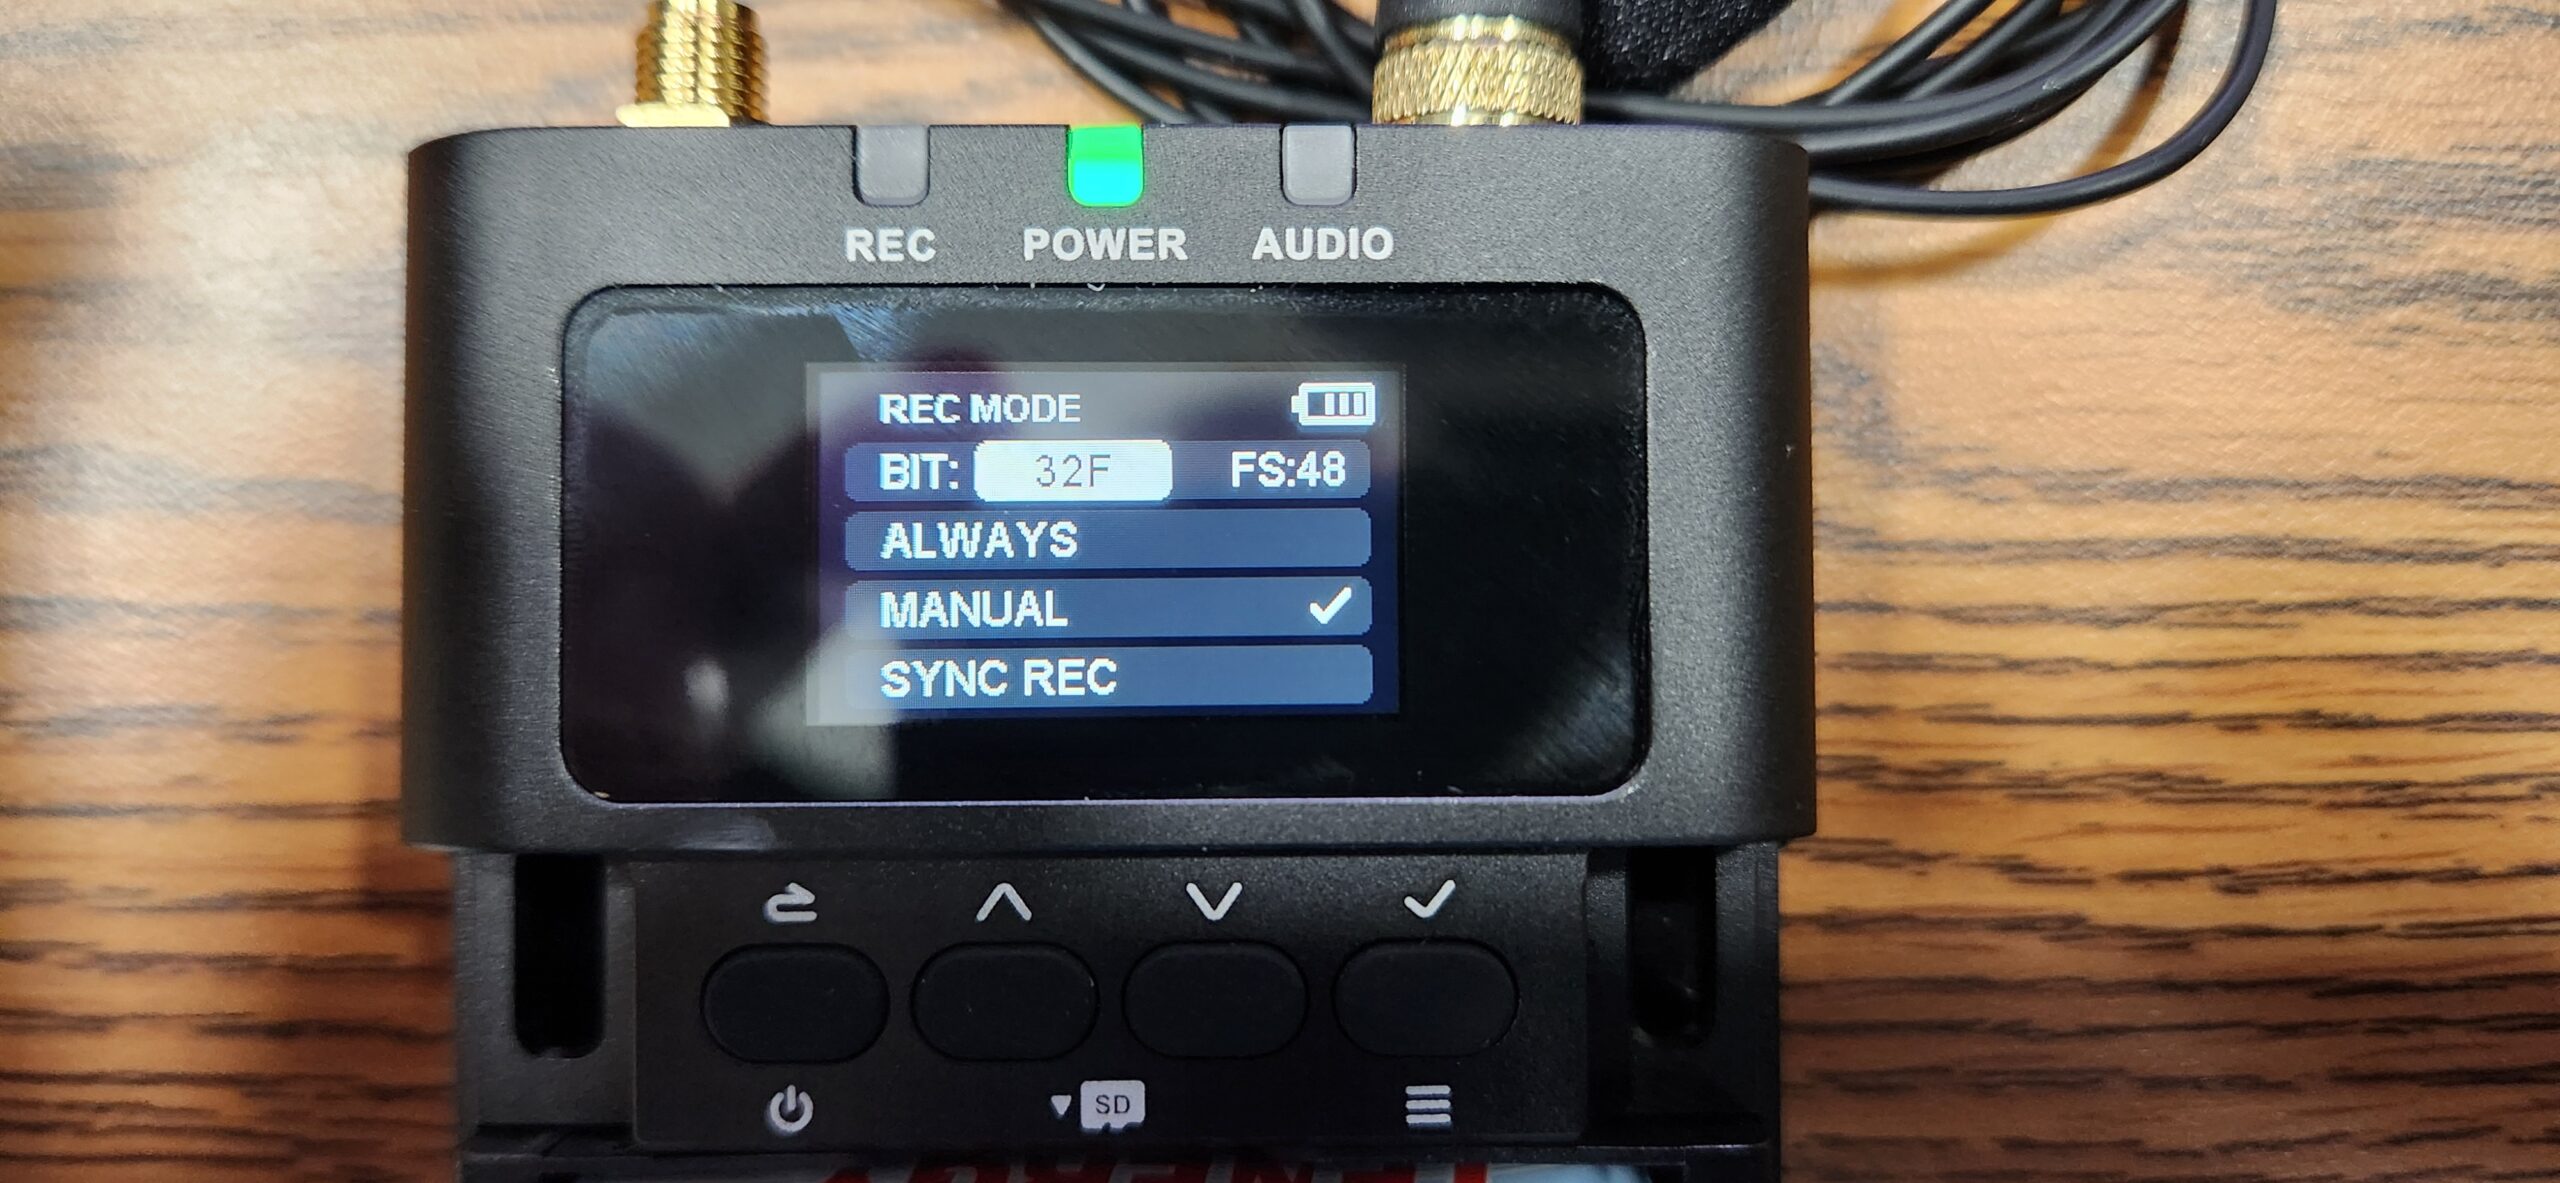
Under Rec Mode, check to make sure the Bit: is set to 32F. You can change it if its not with the Check mark and Up and Down arrows. When you are done, click the Back button to go back to the Main Menu and go into the Record settings.
Note: 32 bit float audio records in a very high dynamic range, meaning you don’t have to worry about audio levels. If they whisper or shout into the mic, that all can be fixed in post without clipping or unwanted noise.
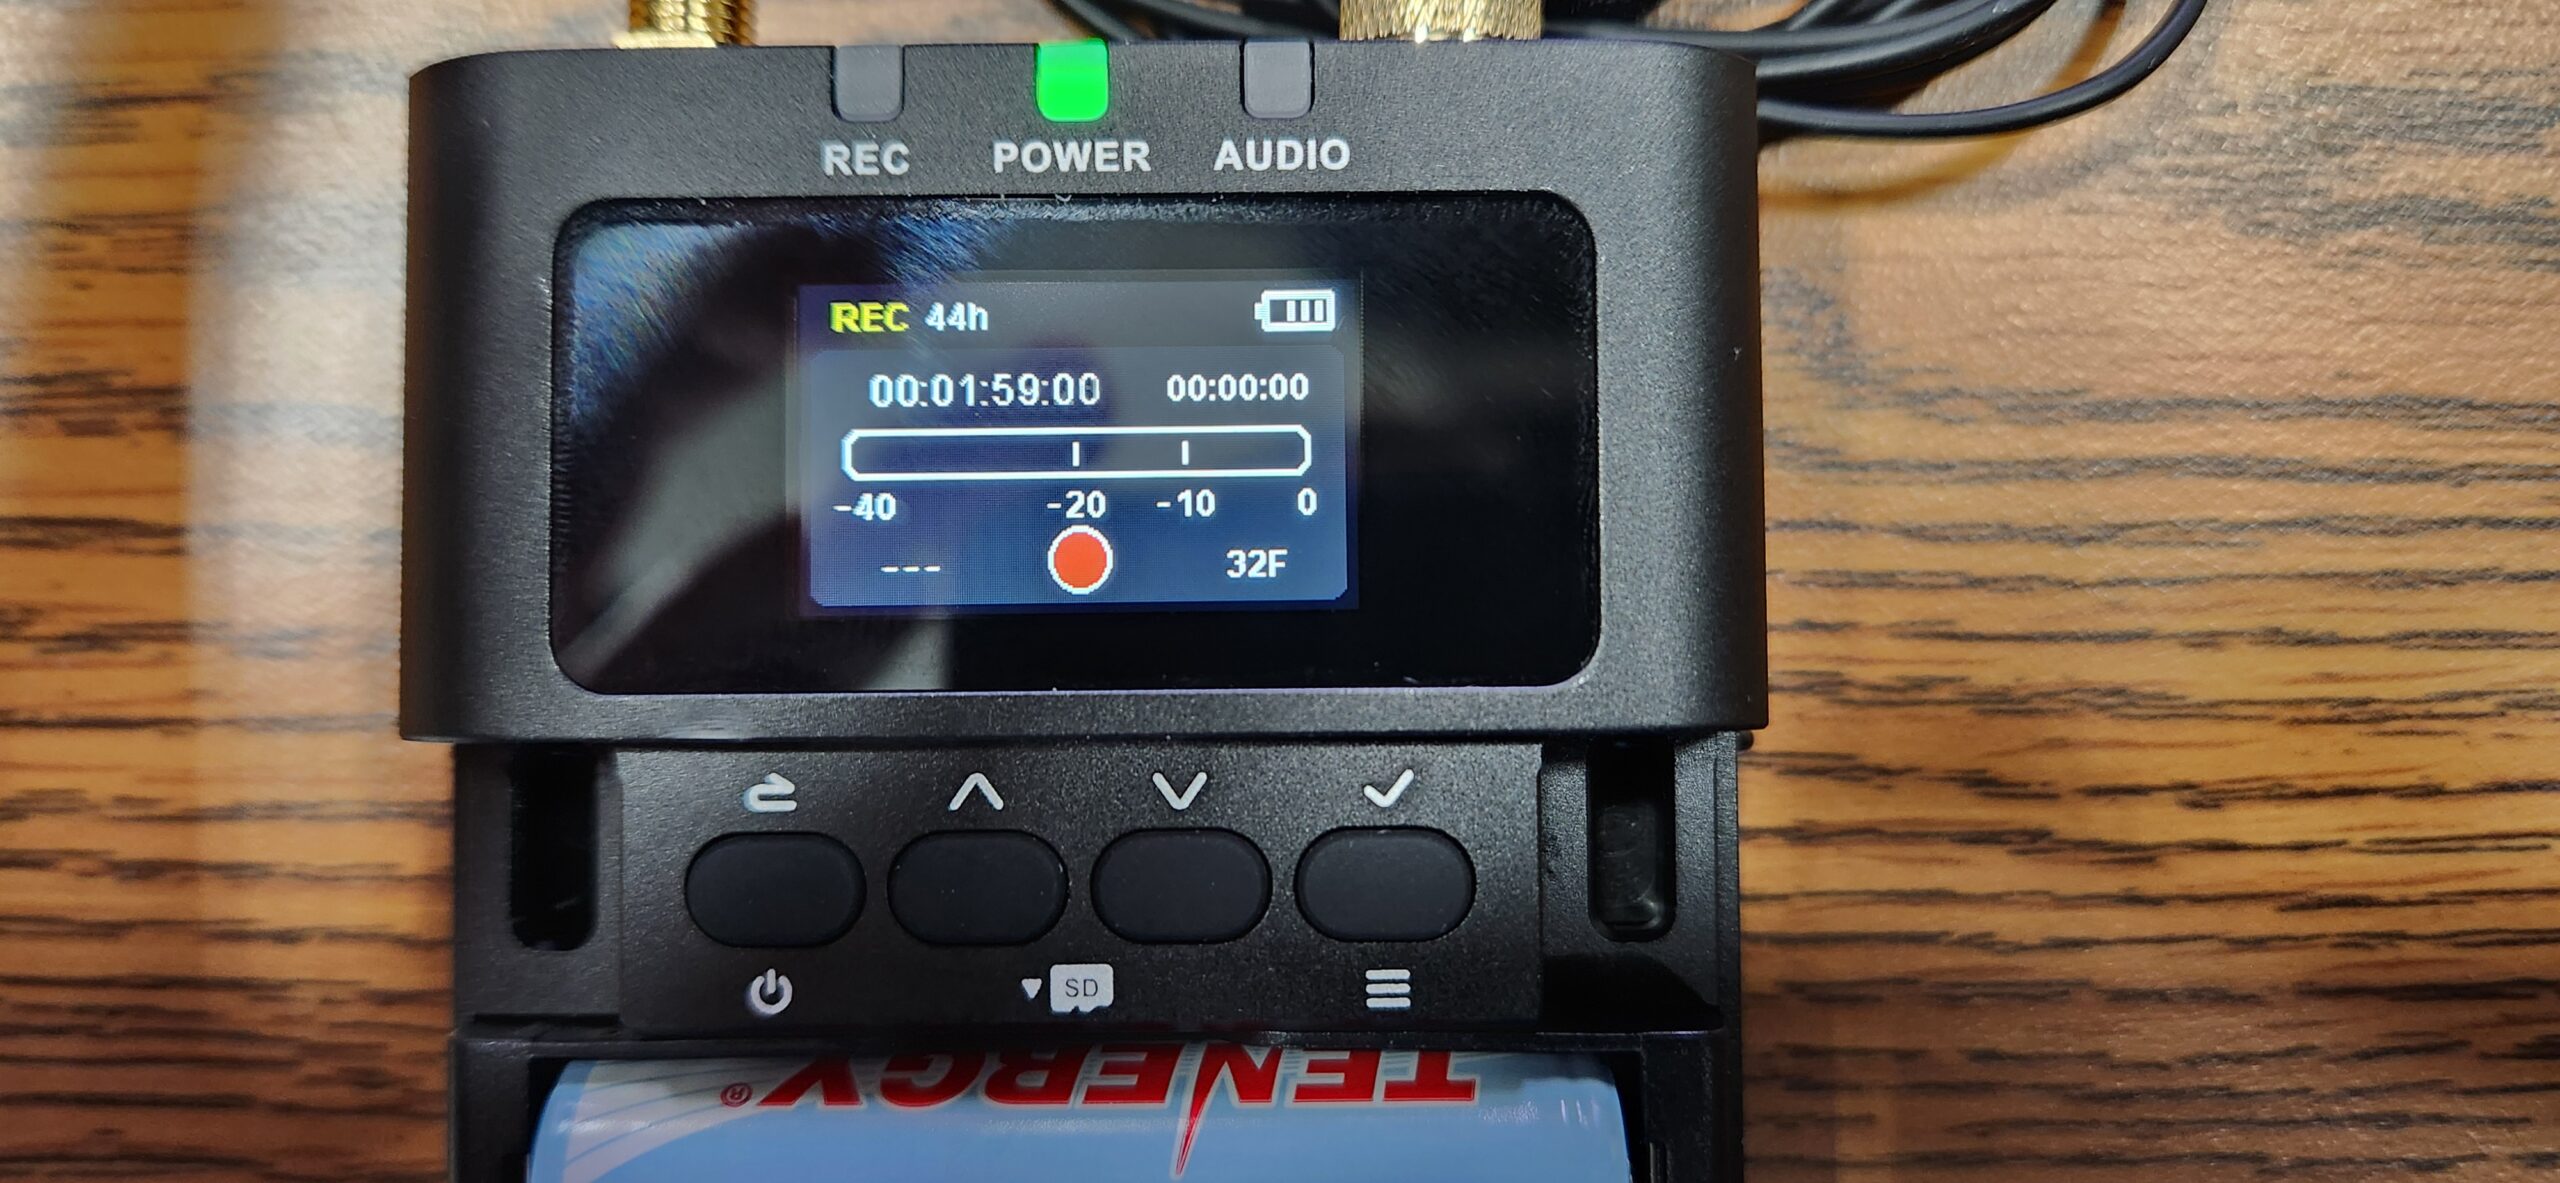
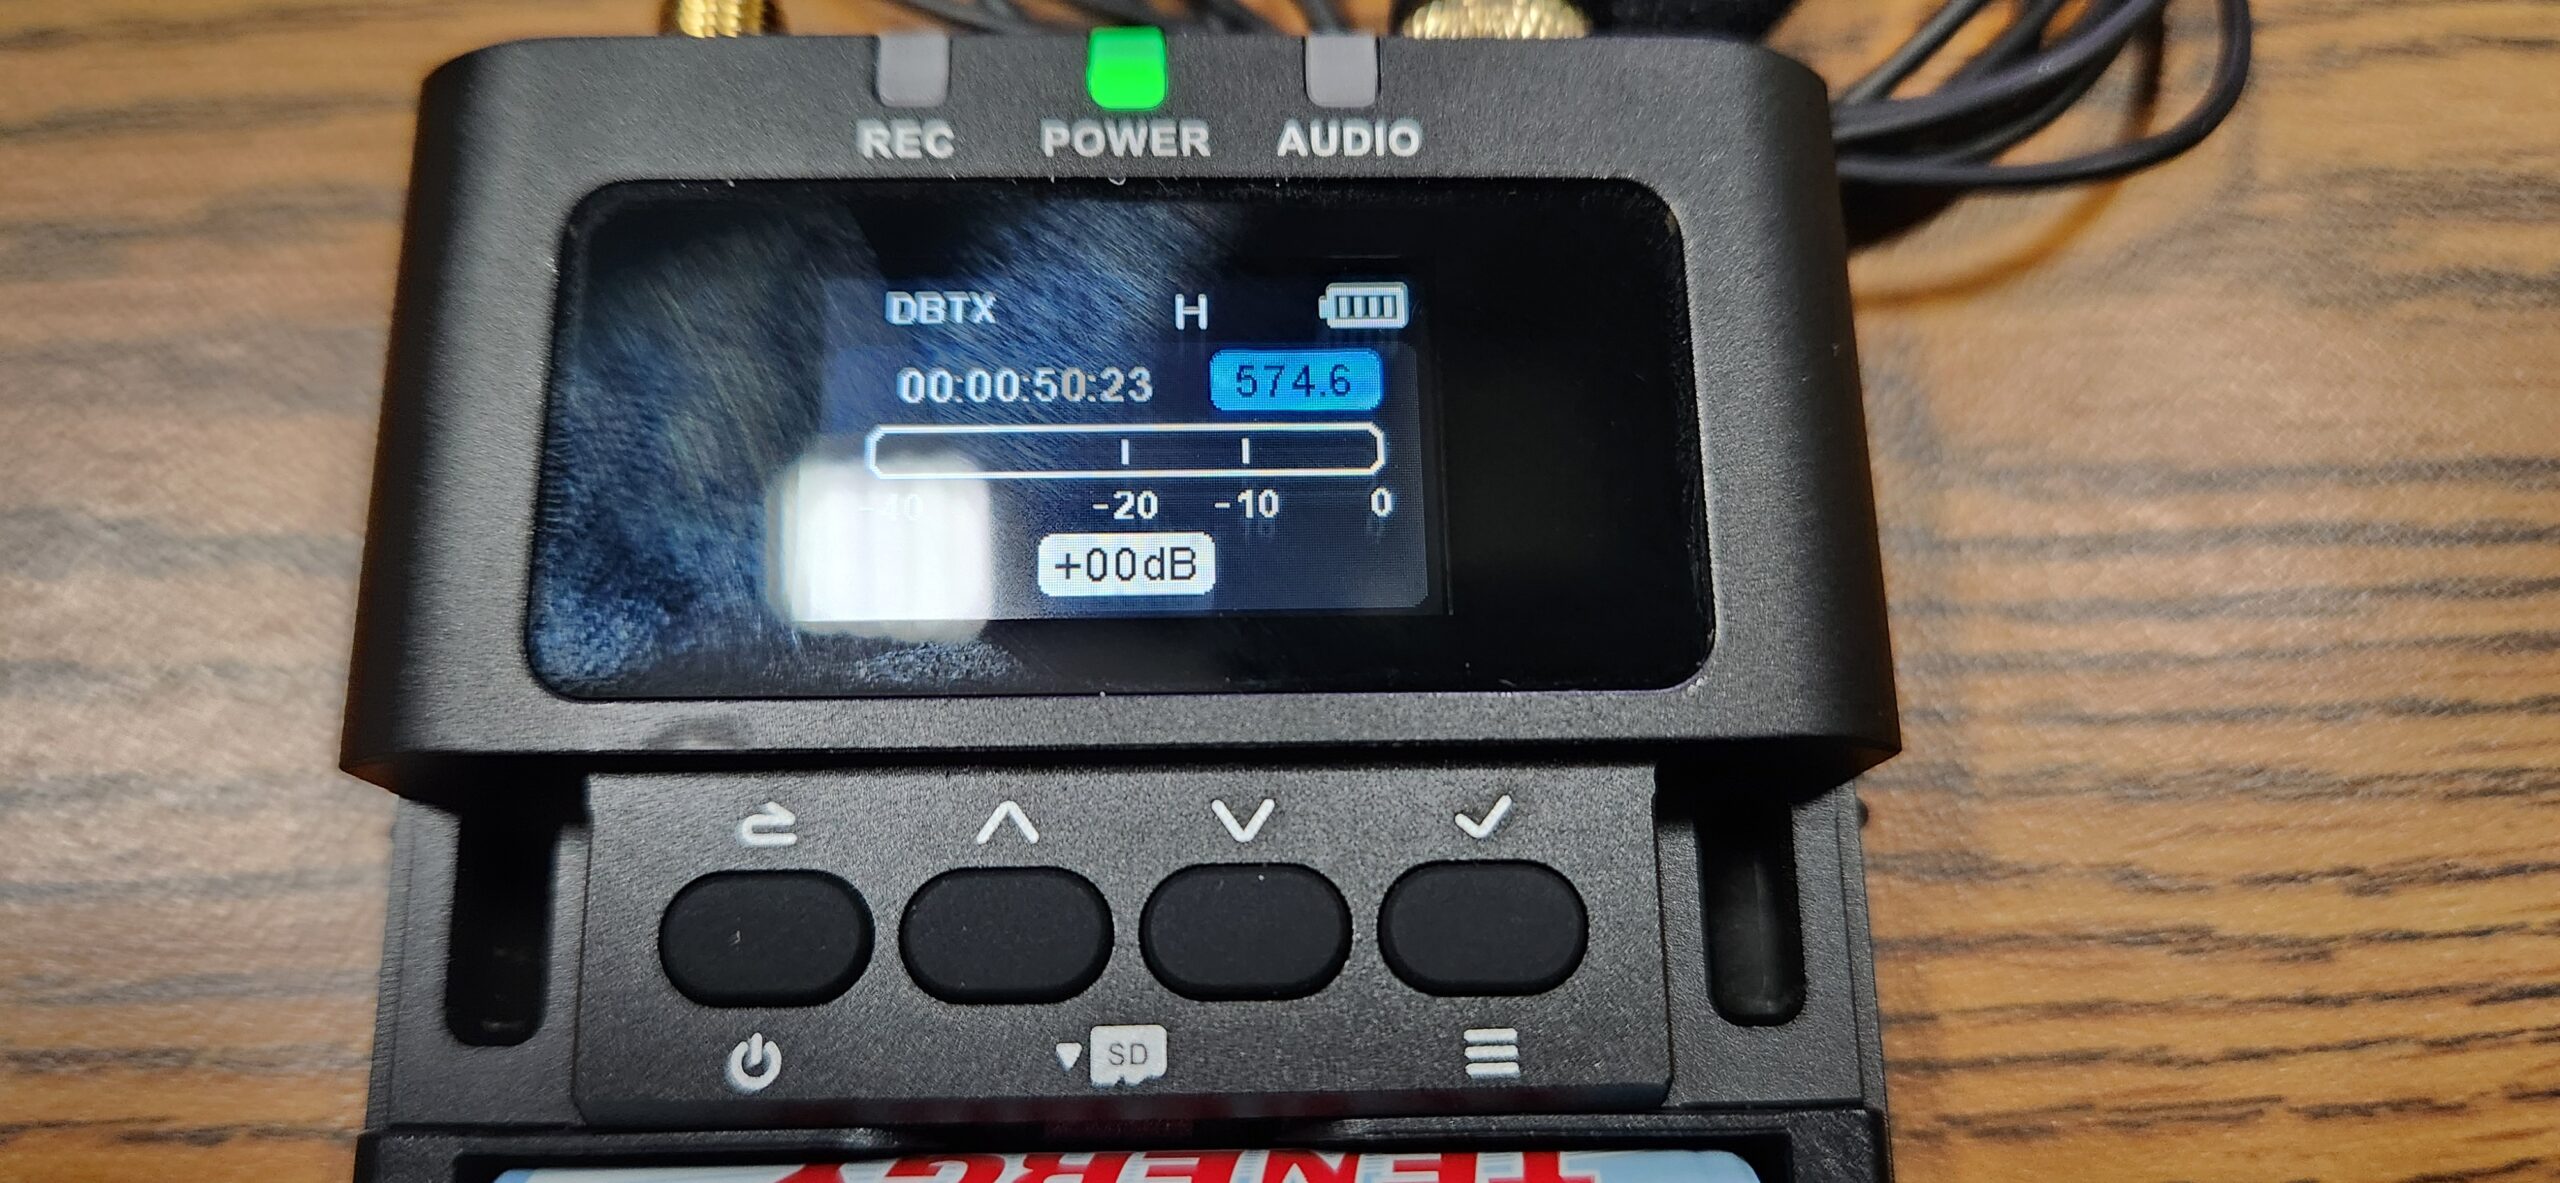
Once in the Record settings you will see this screen. To activate recording, press the Check Mark button.
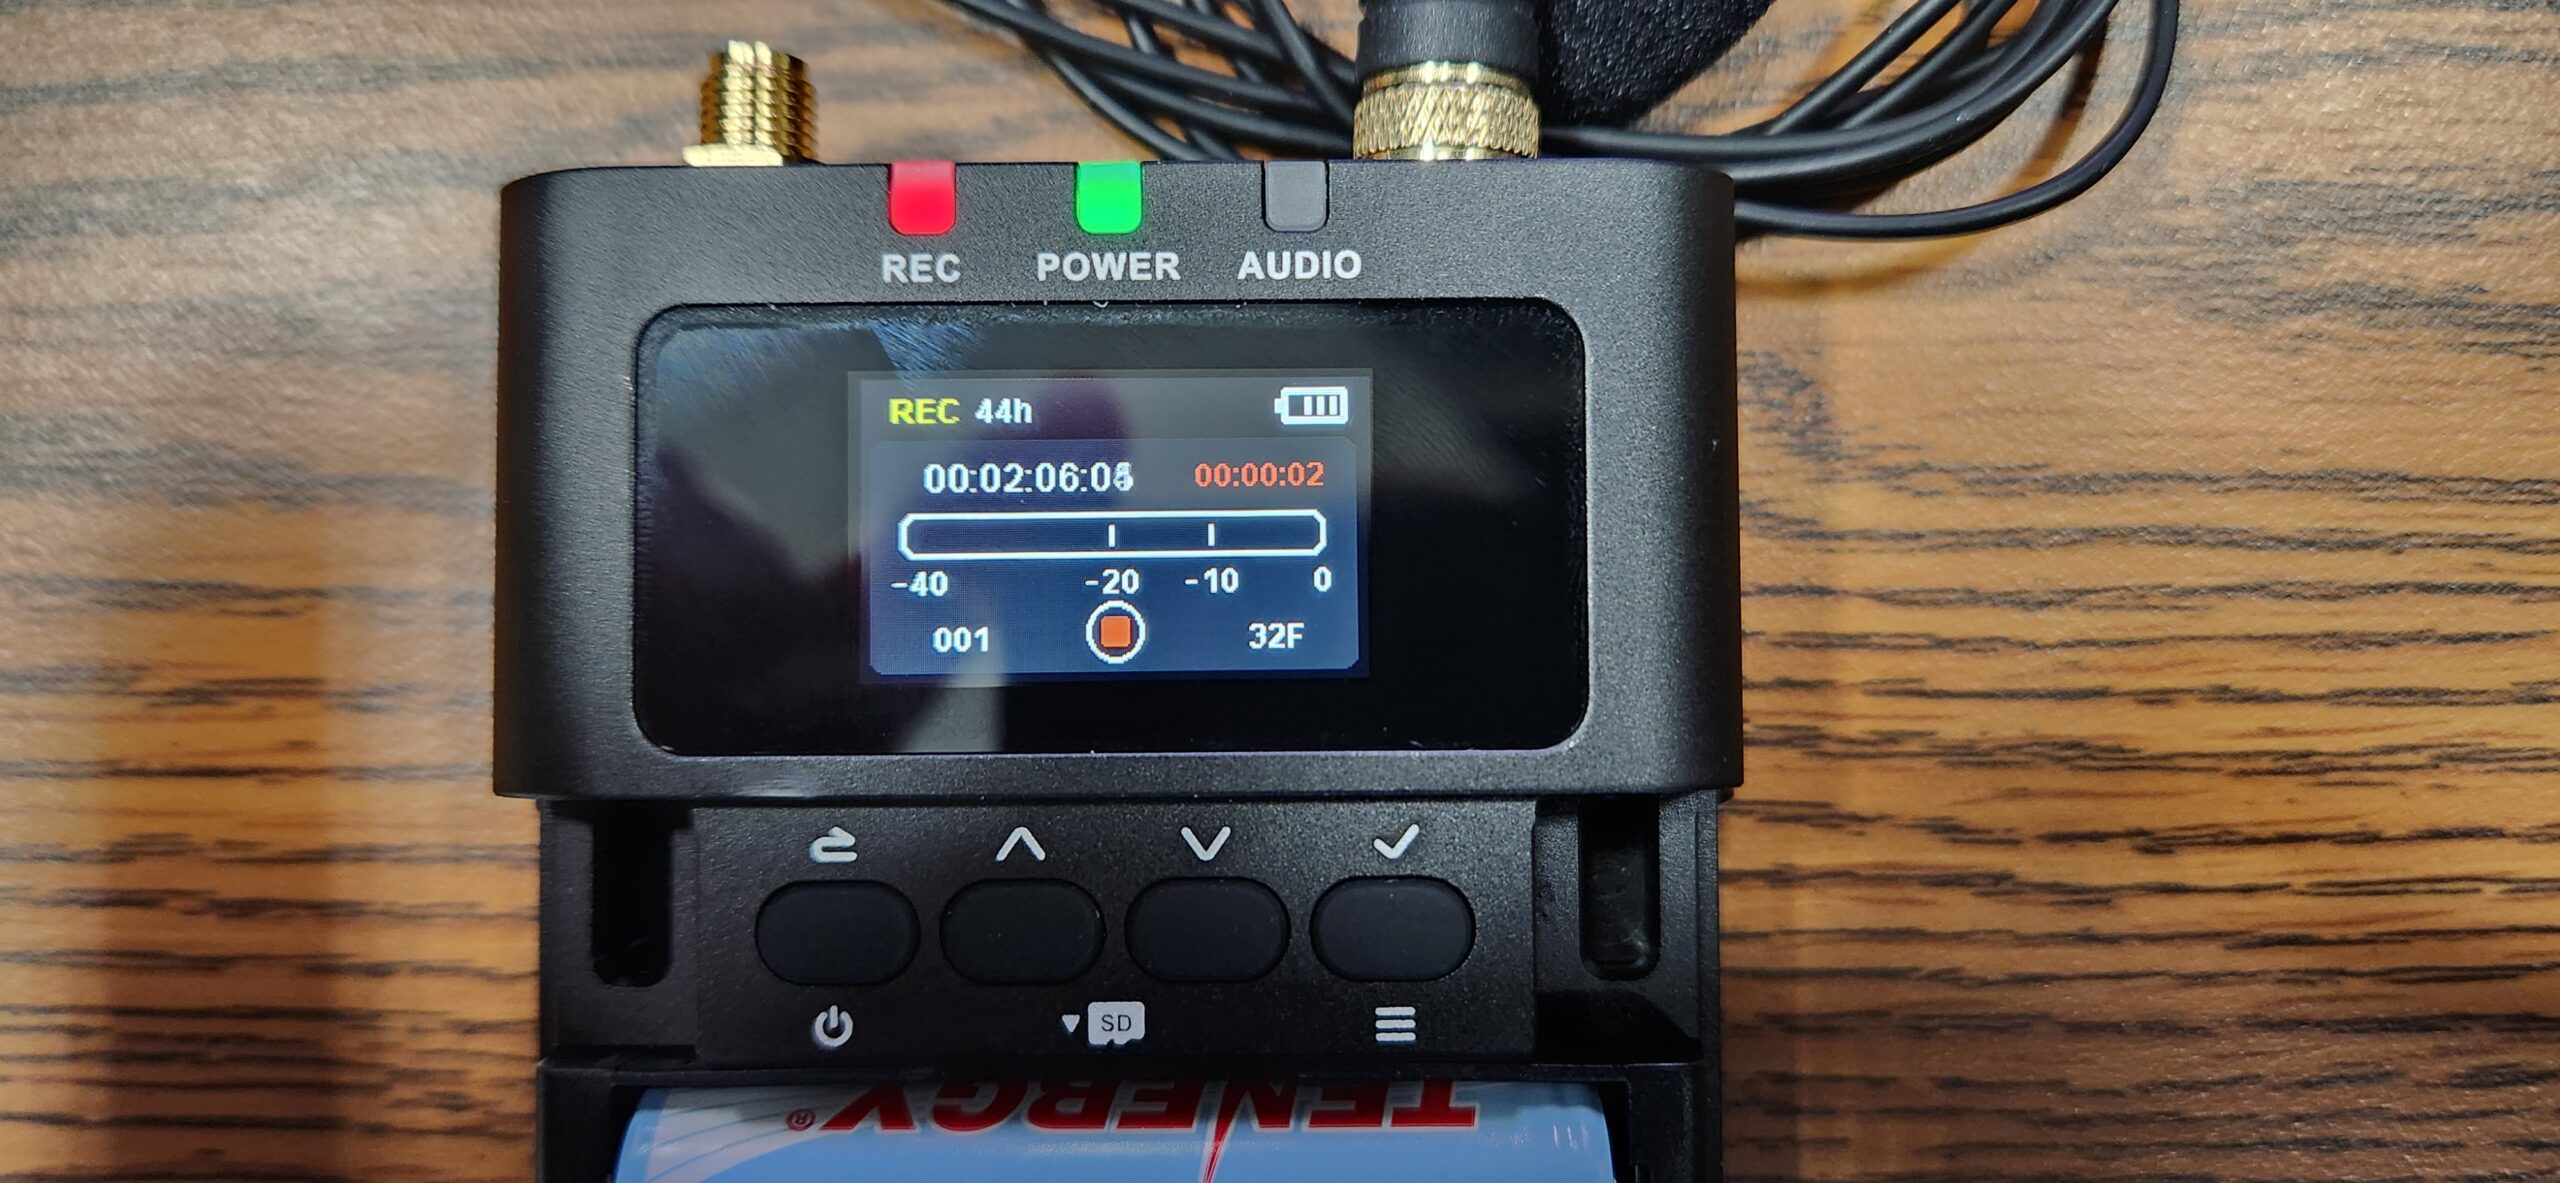
You will see the Rec light at the top left turn red, also the red circle at the bottom of the screen will turn into a red square and you will see a counter start counting up in the upper right hand side of the screen.

To stop the recording press the Check mark button again and select YES when prompter “Are you sure to stop recording?”

When dumping footage you will need to pull the SD card from the mic transmitter. First remove the batteries, then remove the small black and red sd card by pressing in till it clicks and will eject. Pull the card out, and back the audio footage up.