Synology Drive Client desktop application is the desktop utility that provides file syncing and personal computer backup service on multiple client computers to a centralized server, Synology Drive Server.
First you will need to download the Synology Drive Client application. You can find it on the NAS under \Generic Assets\IT Related or on Synology’s website https://www.synology.com/en-af/support/download
NOTE: On their site you can select NAS under the product category and then select any model. Once it brings up the search results, look under the Desktop Utilities tab for the Synology Drive client download section.
Once the program is downloaded and installed you are ready to set it up for a two way sync for your current project. You should never use it to sync all of the ALC Edit folder or the entire NAS, that would download around 35TB of data to your computer and would be bad. Your computer and internet service provider would be unhappy. Instead use it to map to the project folder for your current editing assignment.
Setting Up Synology Drive Client
- Launch the application. The first time you will see a welcome and can click Start Now.
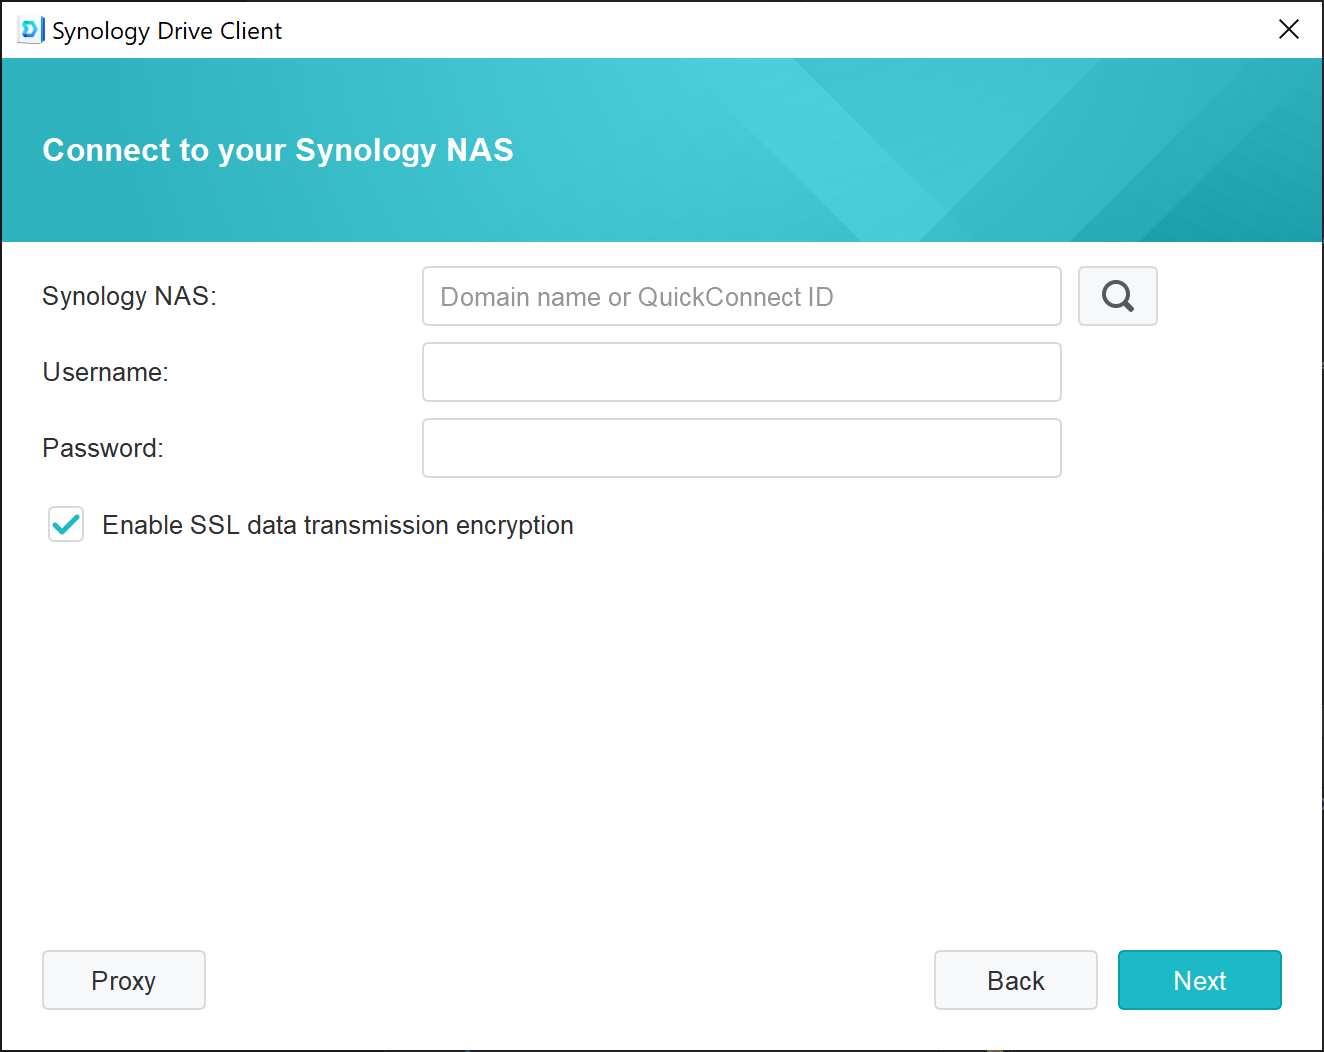
- From there you will see a screen that will allow you to connect to your Synology NAS.
- Enter quickconnect.to/alcnas2 then your username and password. Make sure Enable SSL data transmission encryption is selected.
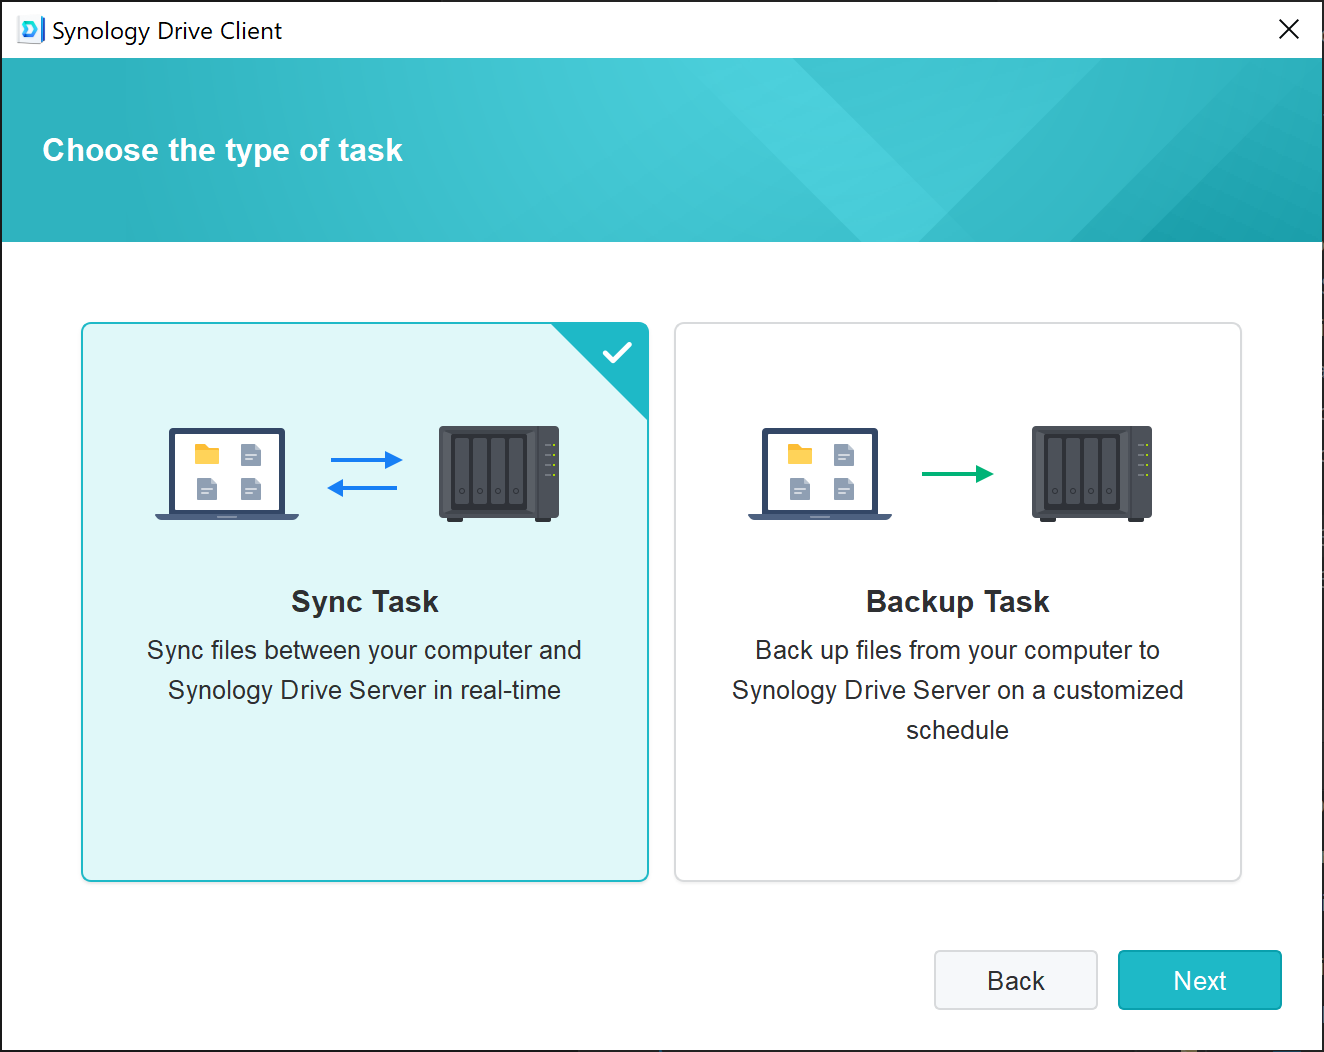
4. Click Sync Task and click Next.
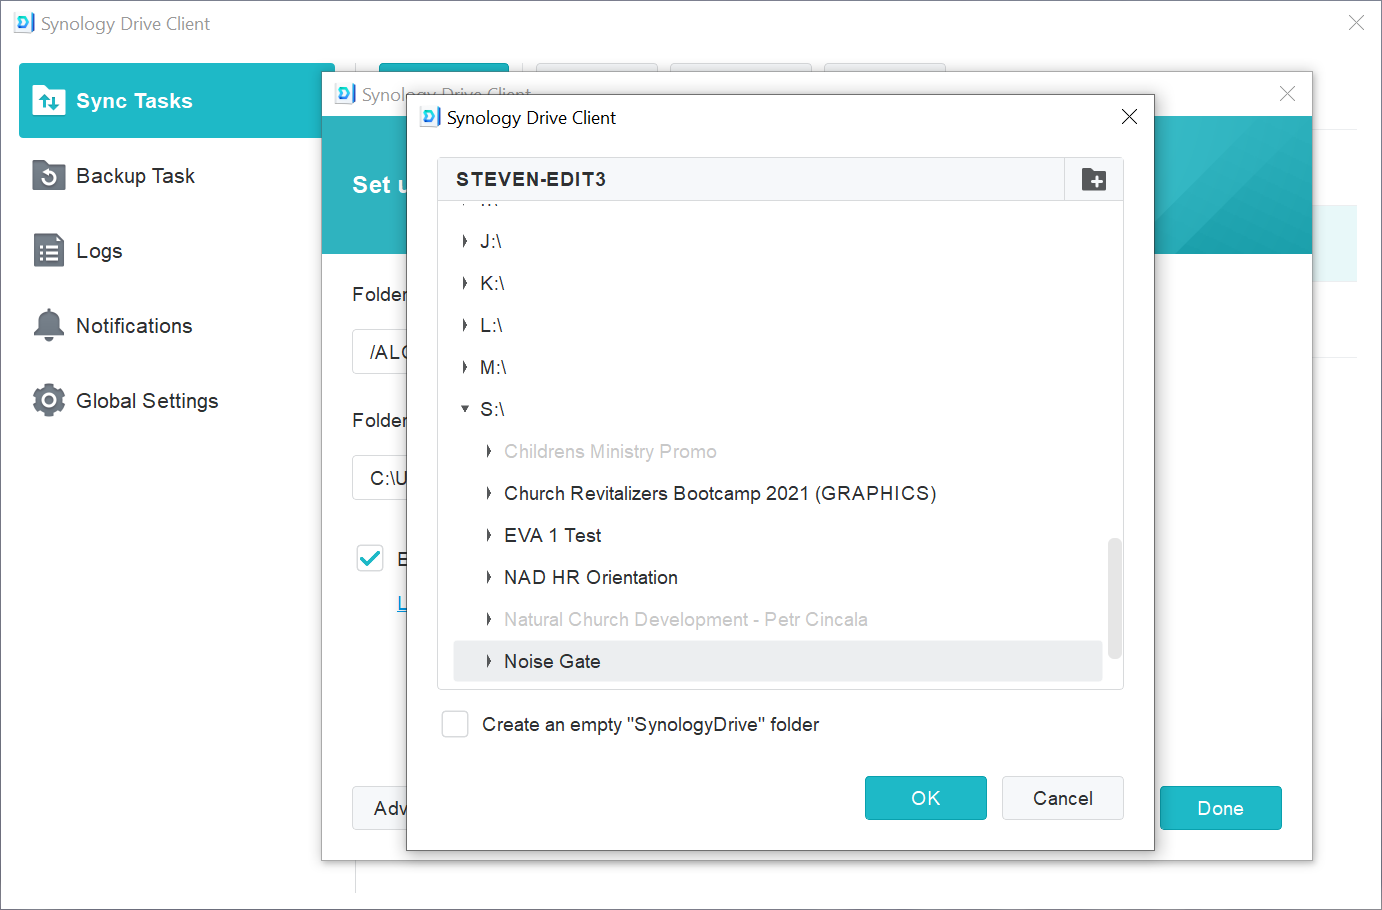
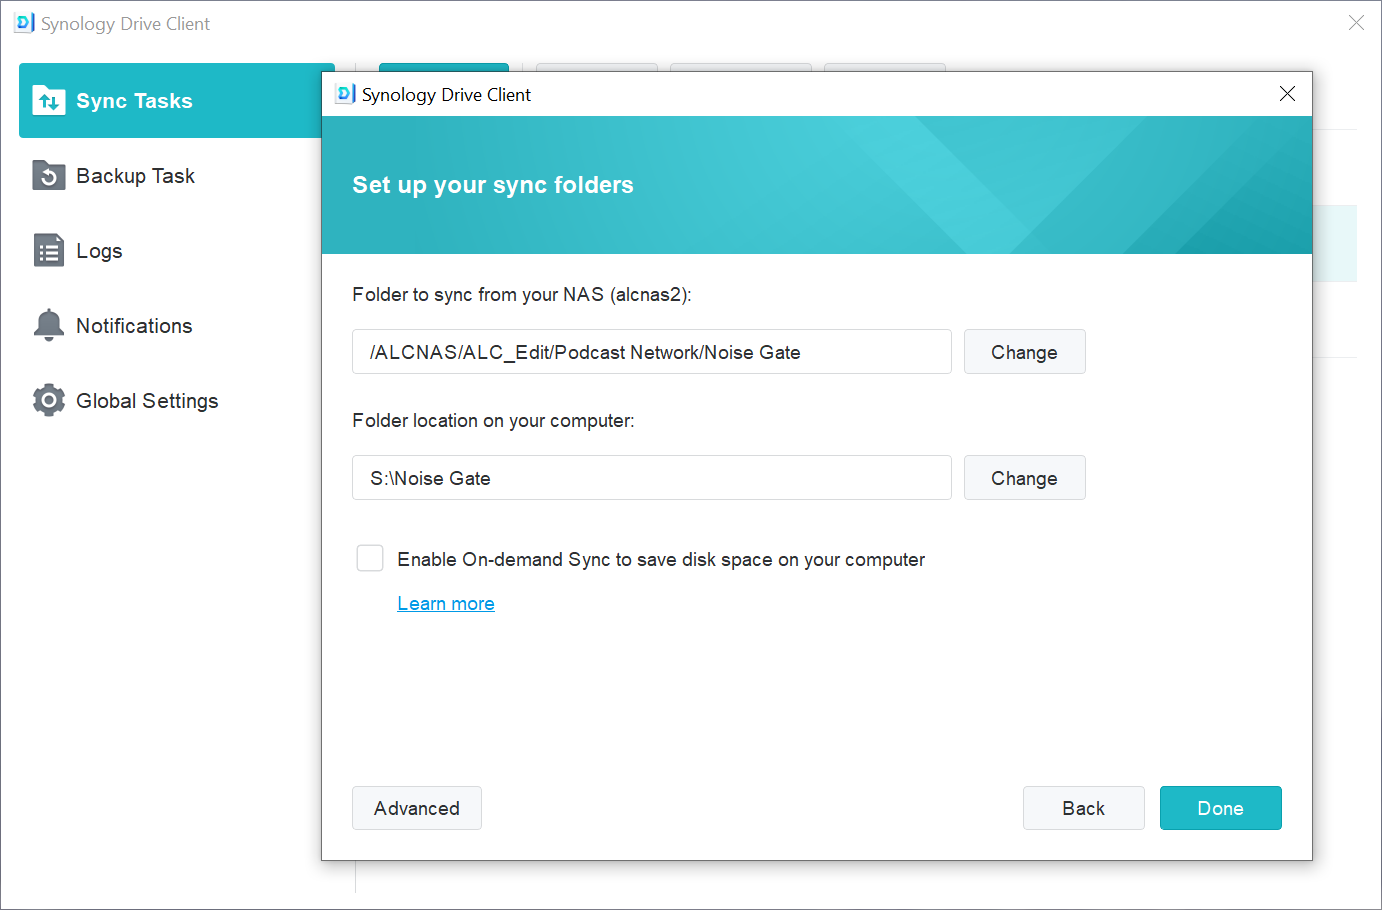
5. Select your project folder on the NAS with the top section and the folder you want to download to and sync on your local computer or drive in the bottom section.
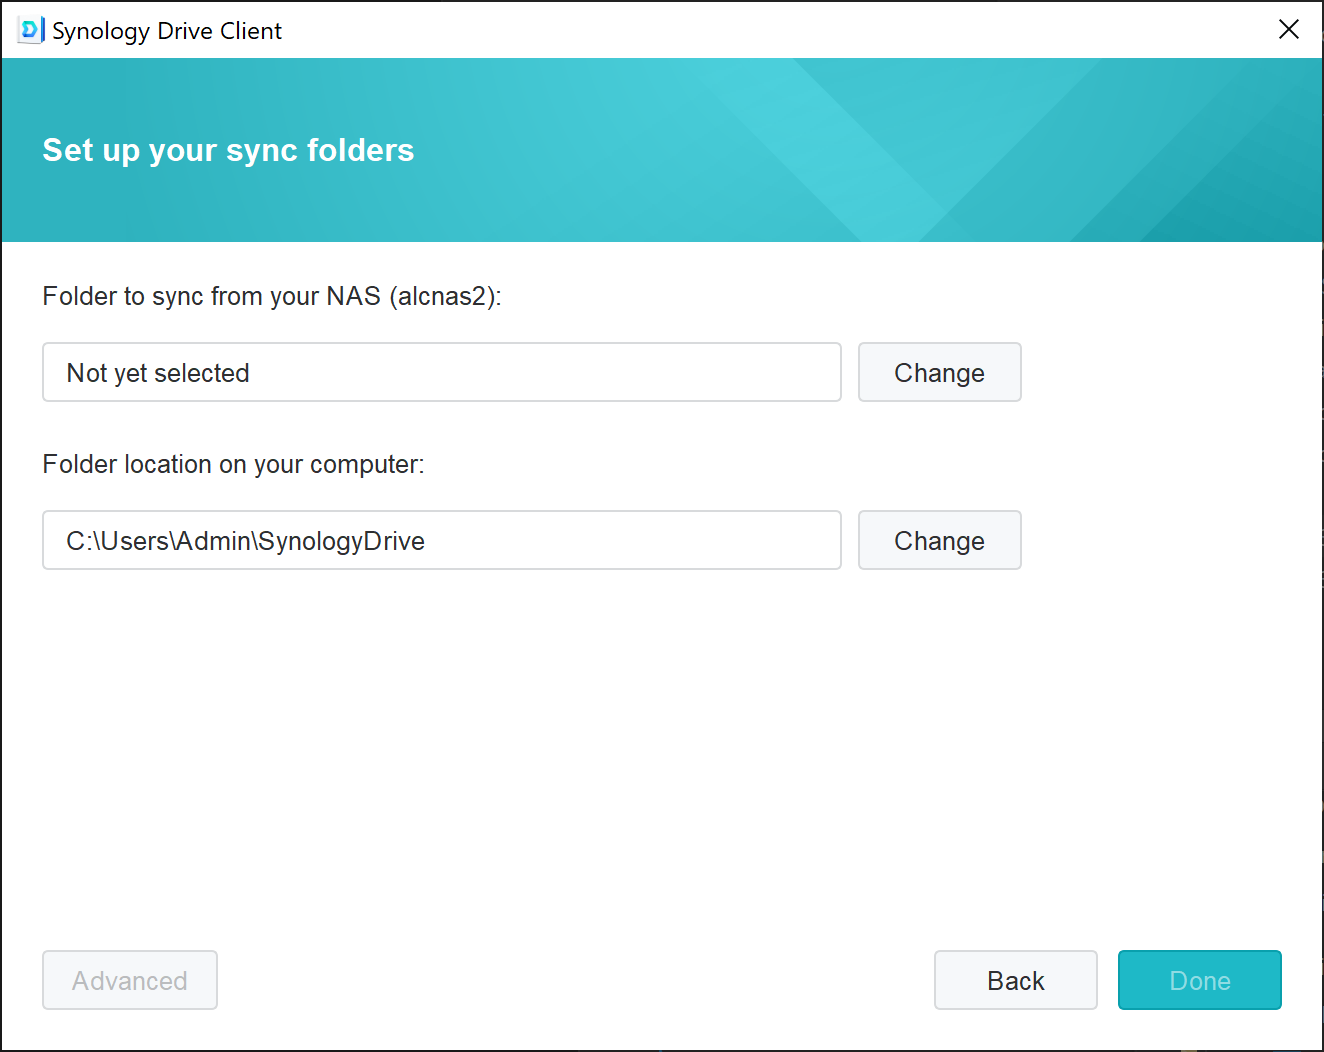
6. When mapping to your local computer, click the Plus Folder icon in the upper right to create a new folder, name it with the same name as the project on the NAS. Also uncheck the Create an empty “SynologyDrive” folder.
7. Once your folders are set uncheck “Enable On-demand Sync to save disk space on your computer.” This will make sure the NAS downloads all the files you need to edit. Then click Done.
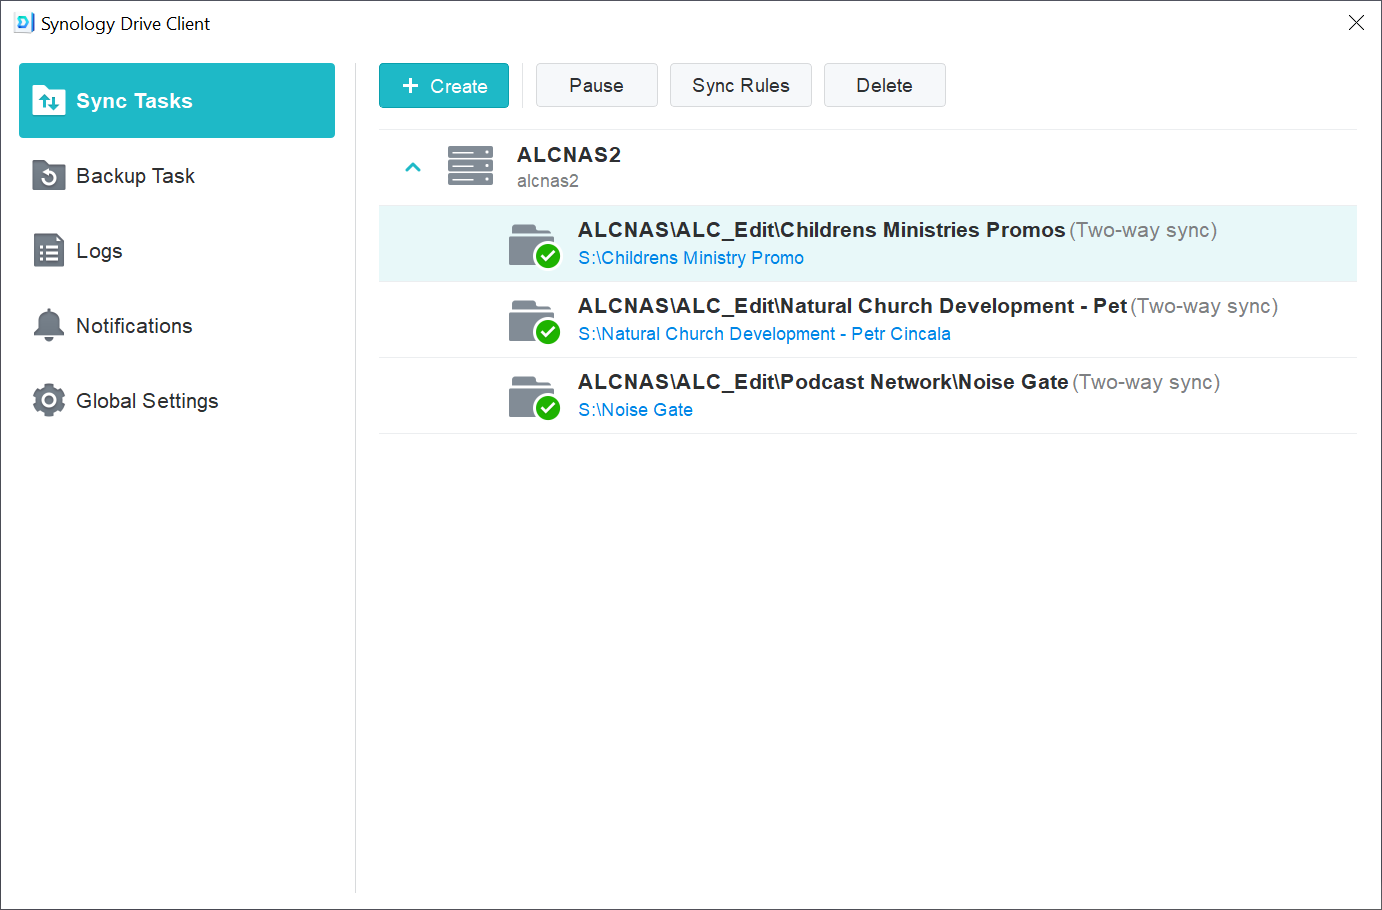
8. You will see your mapped folder appear under your Sync Tasks. In the future you can click the Create button under Sync Tasks to create new folder mappings for other projects.
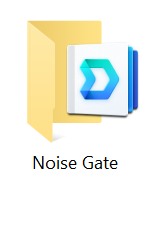
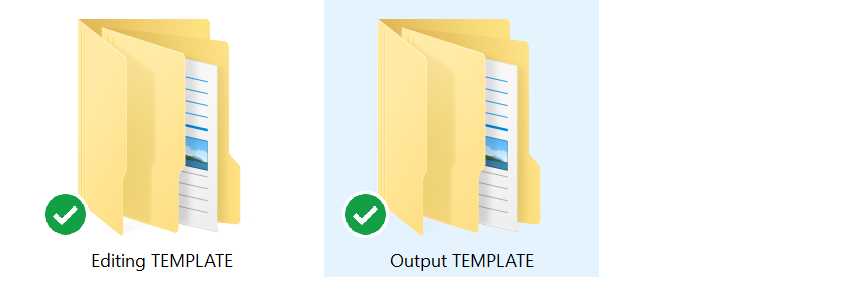
9. When you look on your computer you will notice your project folder has a Synology Drive icon next to it indicating it is set up for backups.
10. Folders that are synced will have a green check mark next to them.
Disconnecting Synology Drive Client
NOTE: Make sure that this step is done in the correct order or you will end up deleting the project files from the NAS.
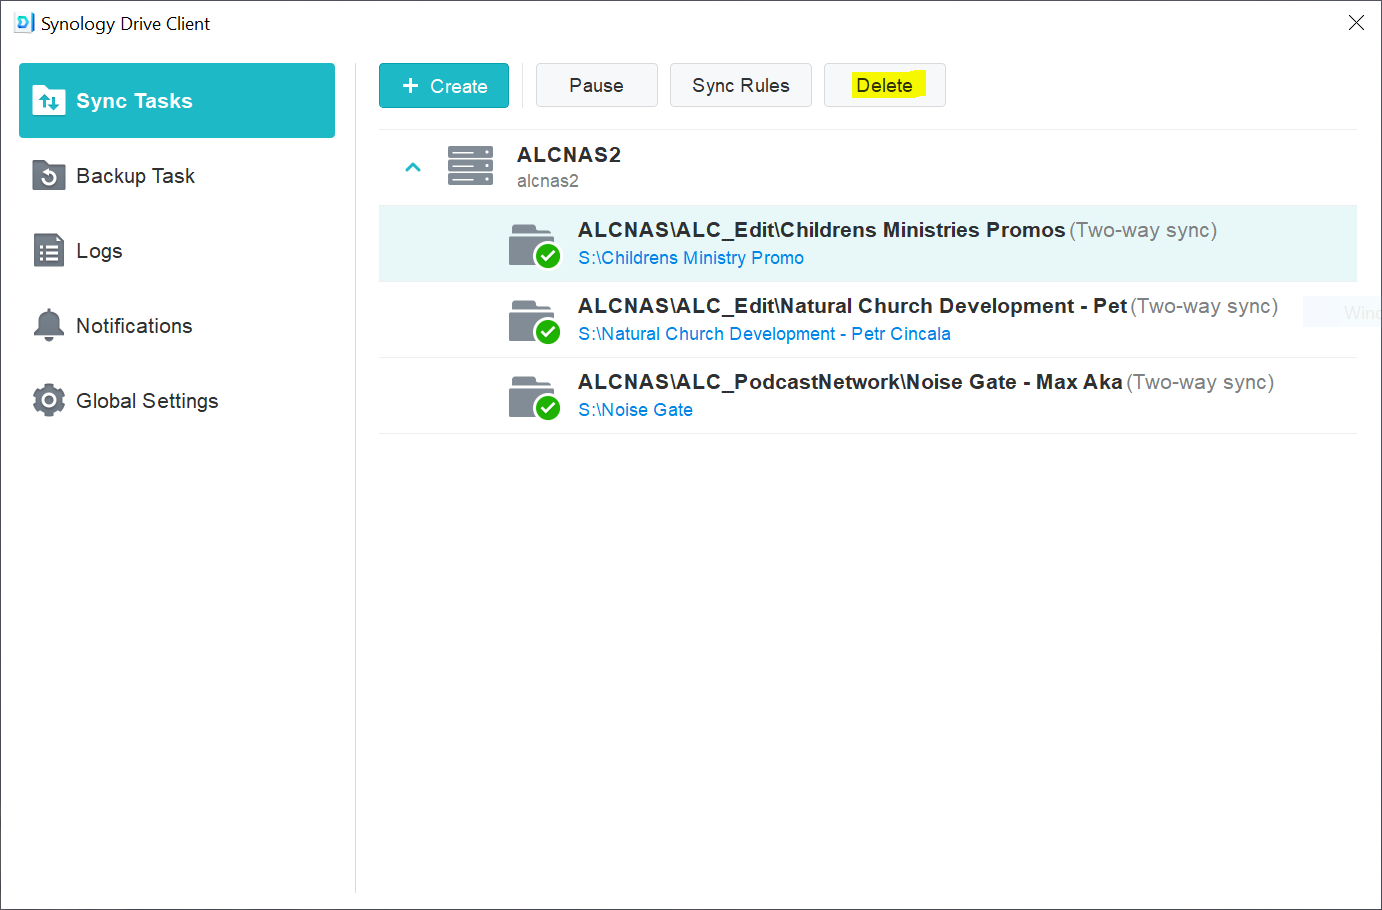
- Open up your Synology Drive Client
- Go to Sync Tasks
- Select the Task you are done with and wish to disconnect from
- Click Delete
- A pop up will tell you that after delete you might have to do a full re-sync if you wish to sync again. Click Ok.
- Then and ONLY then can you go to your local folder and delete the content of your local hard drive.
General Information:
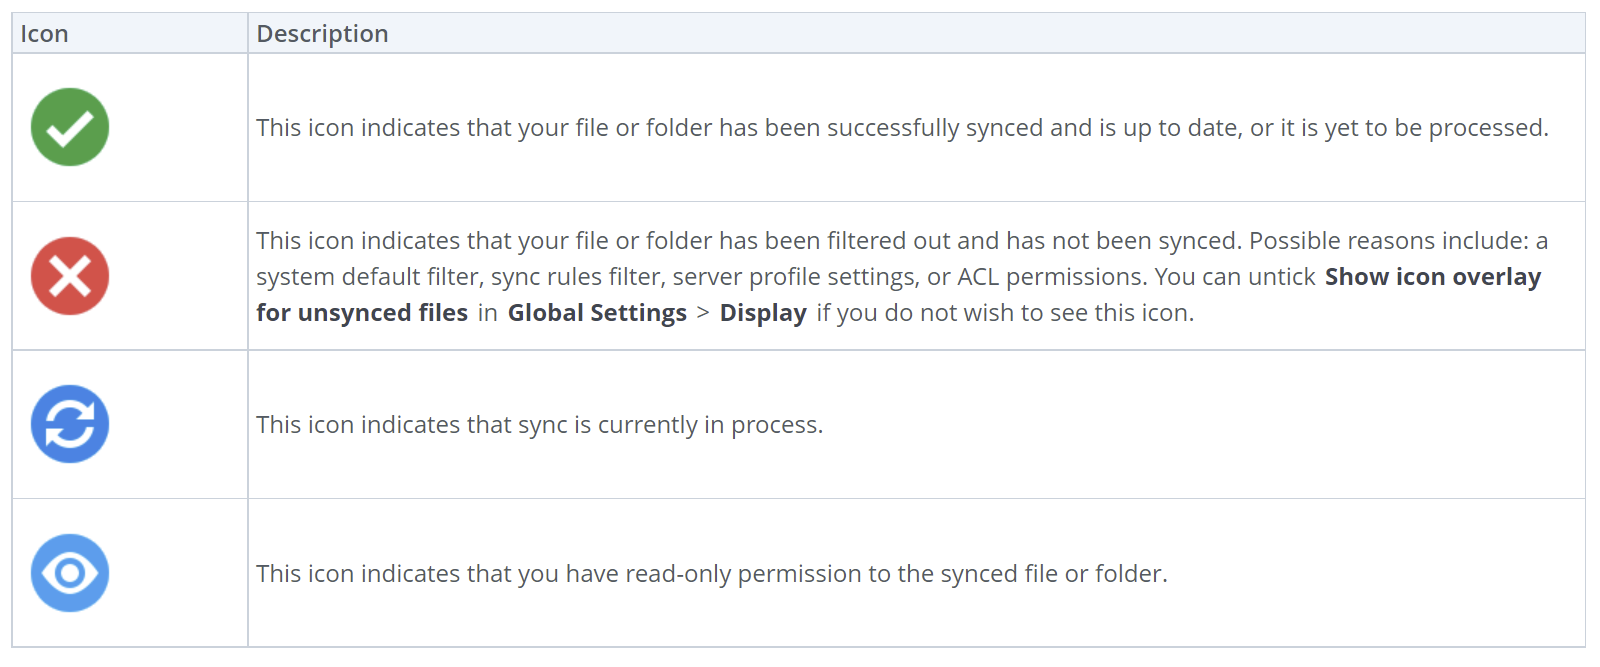
Icon overlays
Icon overlays appear on the lower-left corner of the files or folders in your local Synology Drive folder, indicating its status. You can untick Show icon overlay for file status in Global Settings > Display if you do not wish to see them.
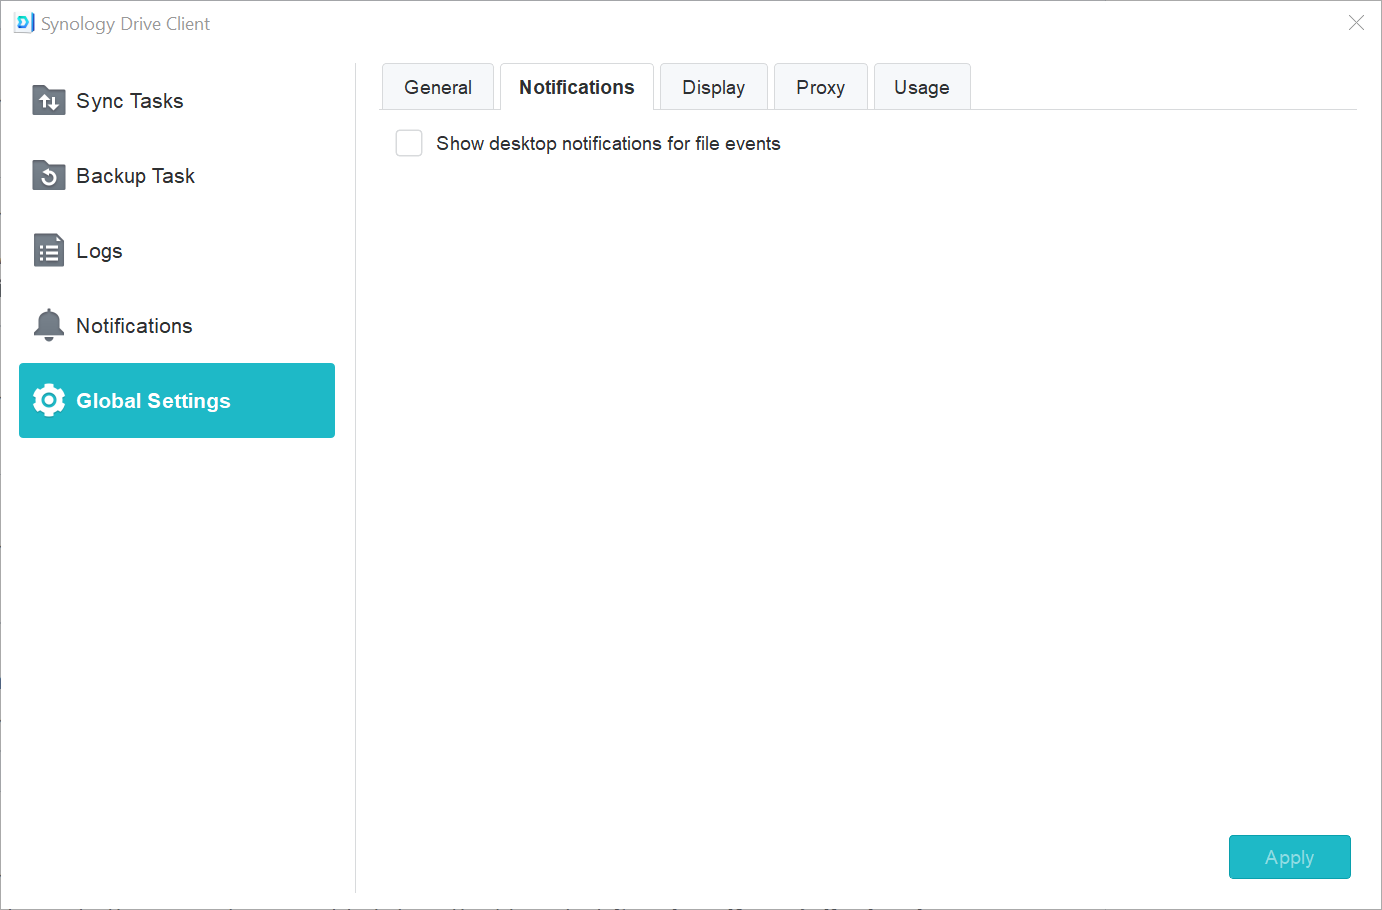
If you get annoyed of getting pop up notifications every time a file updates you can go to Global Settings > Notifications > and uncheck “Show desktop notifications for file events.”